Window에 WSL, oh-my-zsh, Cmder, VS Code 설치
Windows10 환경에서 WSL2, zsh , oh my zsh, Visual Studio Code, windows terminal, cmder, Sourcetree를 설치합니다.
1. choco, python, windows terminal설치
-
choco 설치
https://chocolatey.org/install 주소에서 아래 빨간색 체크 버튼을 클릭.
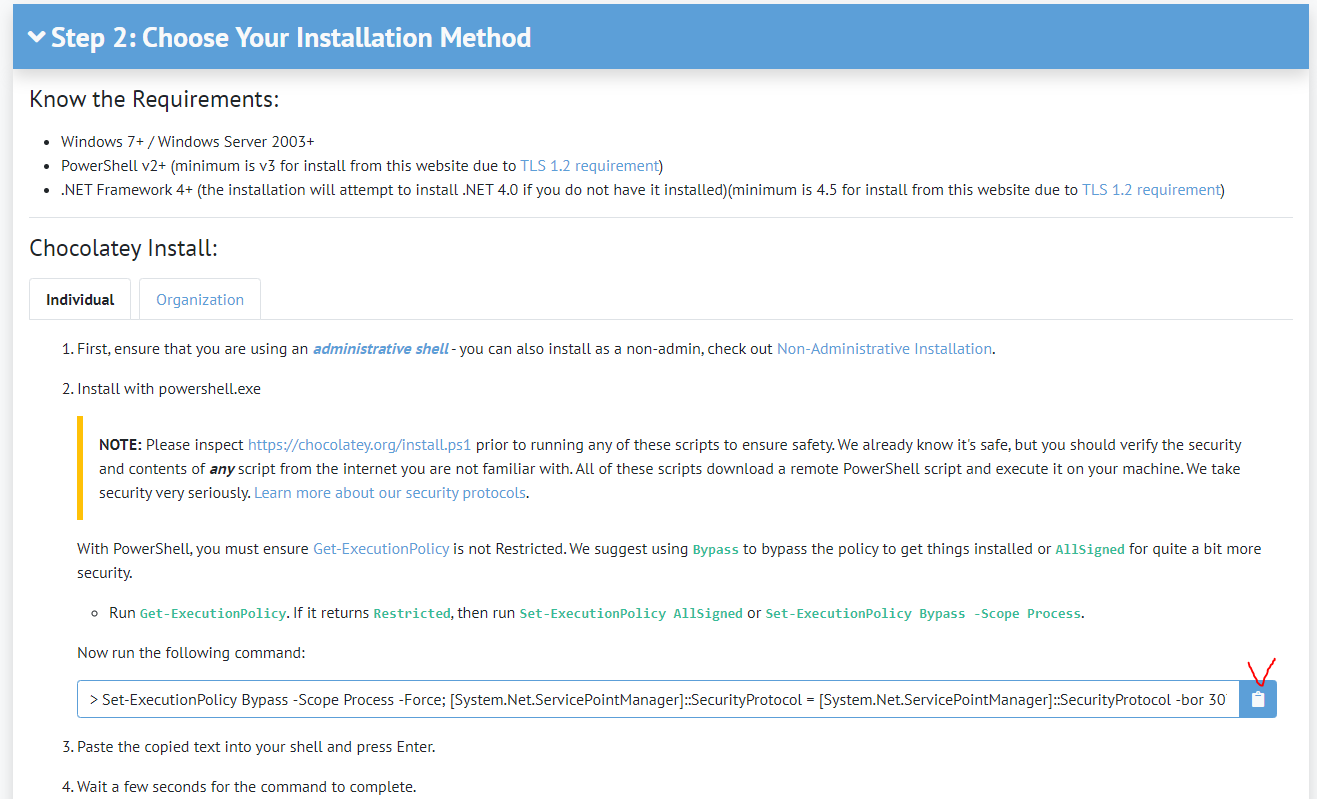
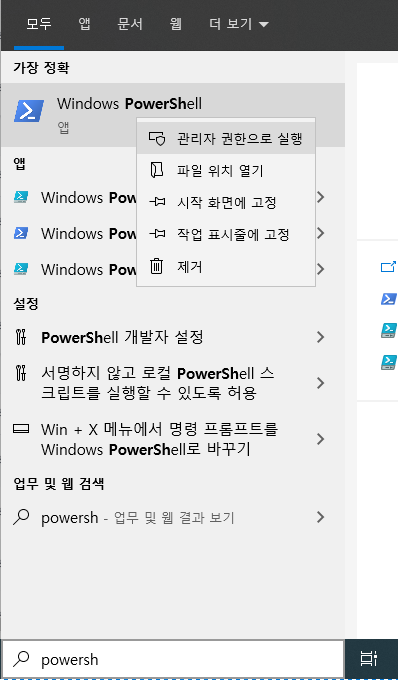
작업 표시줄에서 Windows PowerShell을 관리자 권한으로 실행.
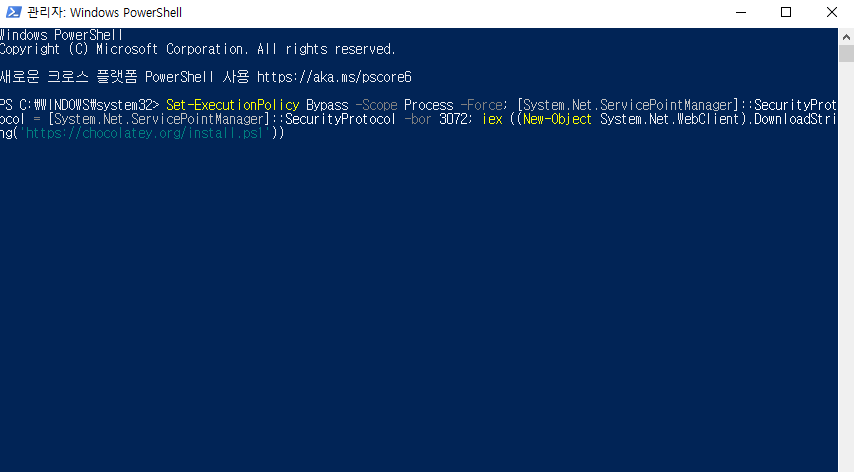
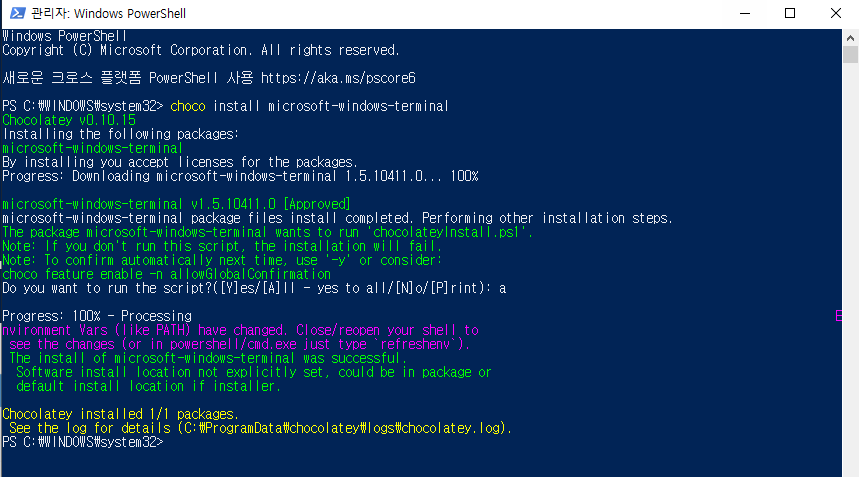
chocolatey 사이트에서 복사한 텍스트를 붙여넣기를 하고 엔터를 하면 설치가 진행됩니다.
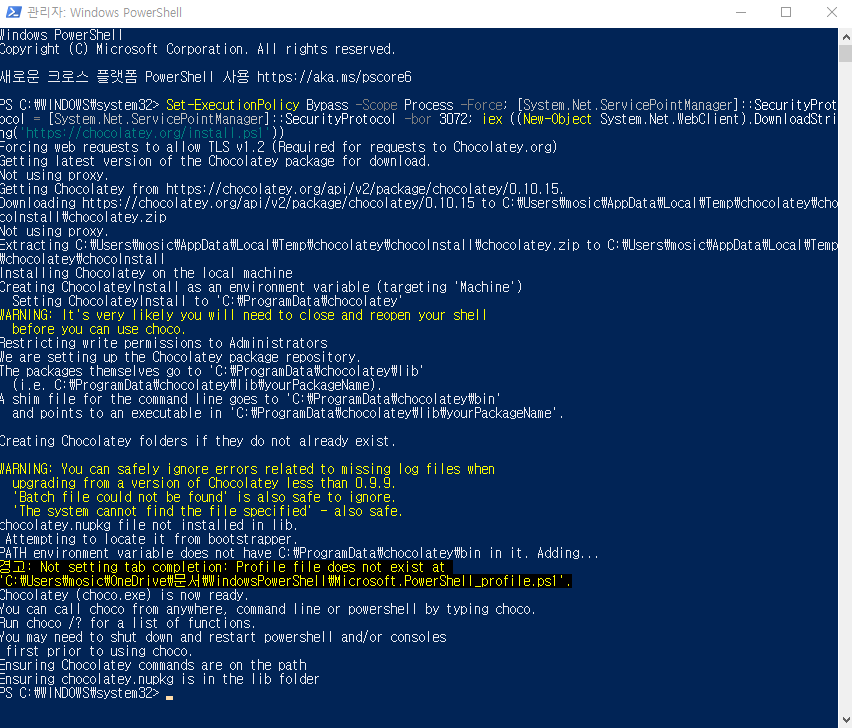
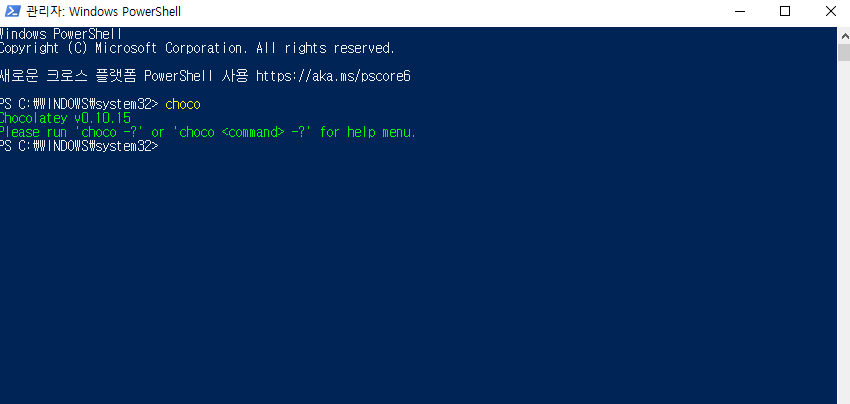
설치가 다되었다면 Windows PowerShell을 관리자 권한으로 재실행합니다.
choco를 입력하여 버전정보가 보인다면 정상 설치된 것입니다.
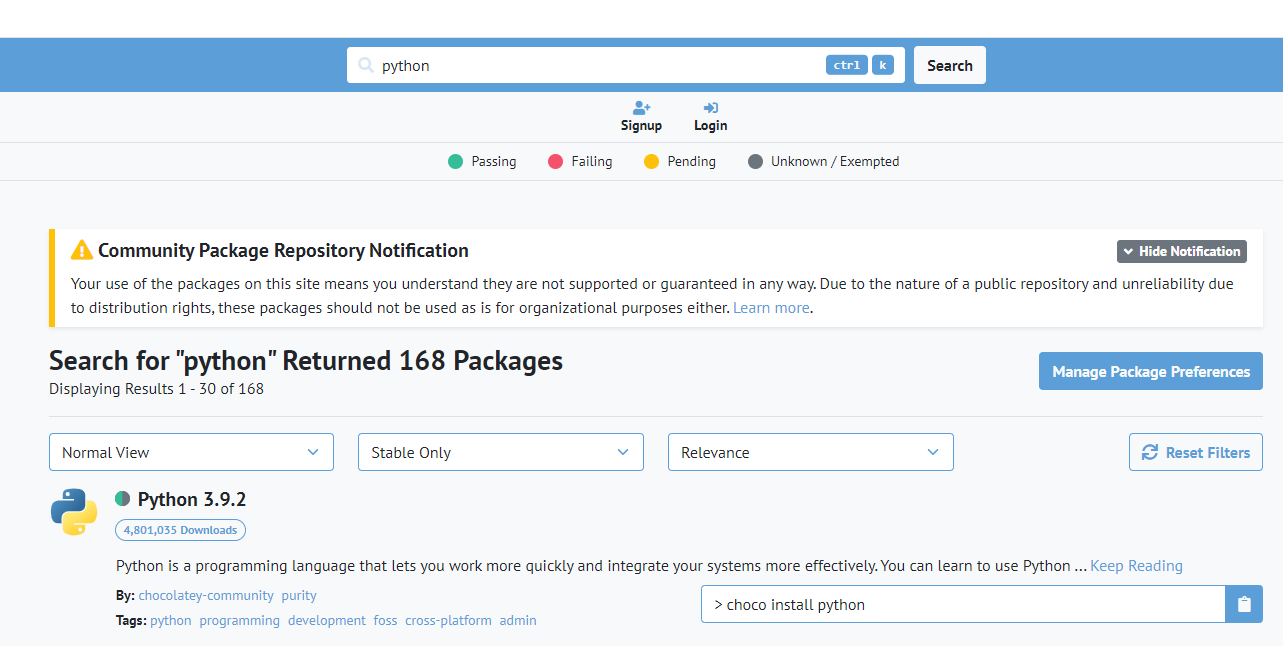
https://chocolatey.org/packages 에서 choco install python을 복사하여 PowerShell에서 실행.
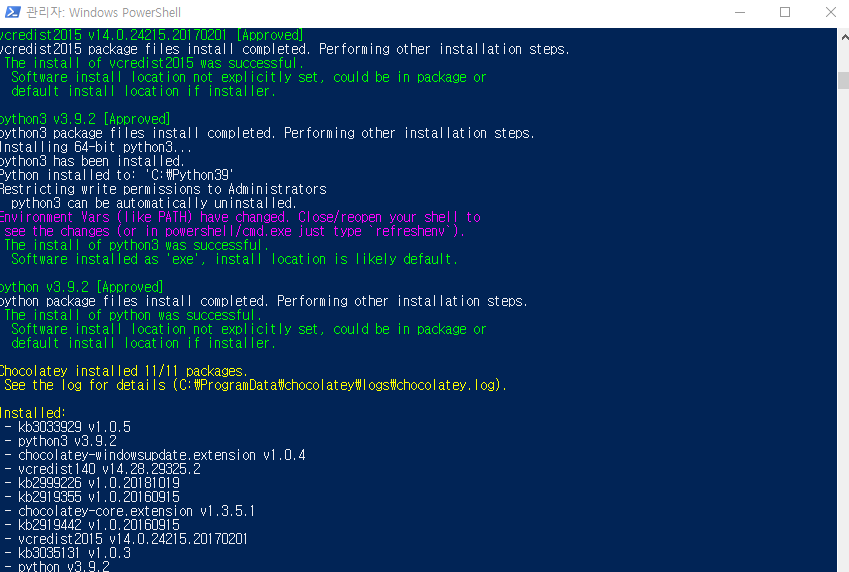

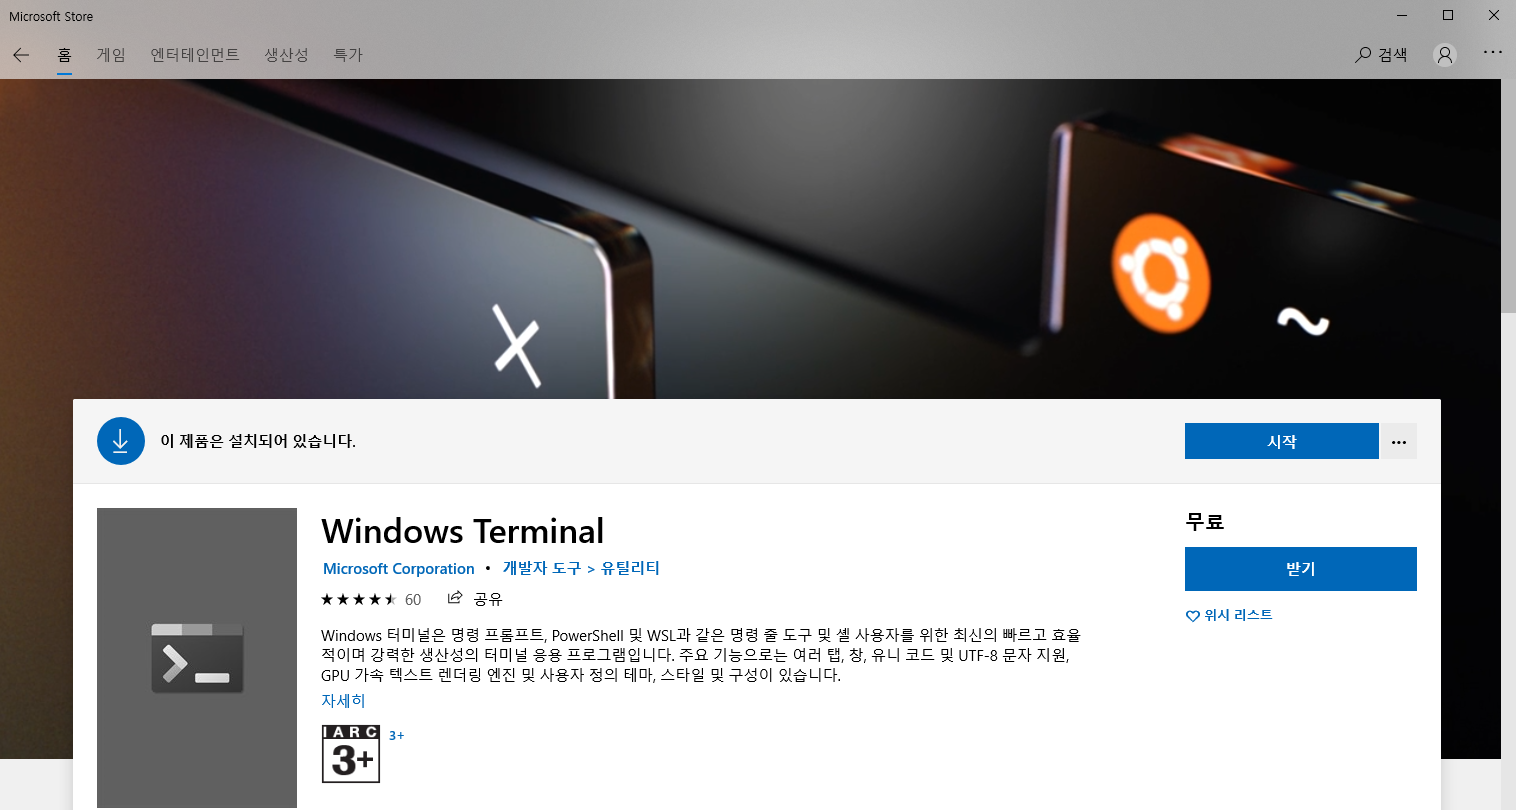
python 설치가 끝났다면 windows terminal을 설치합니다.
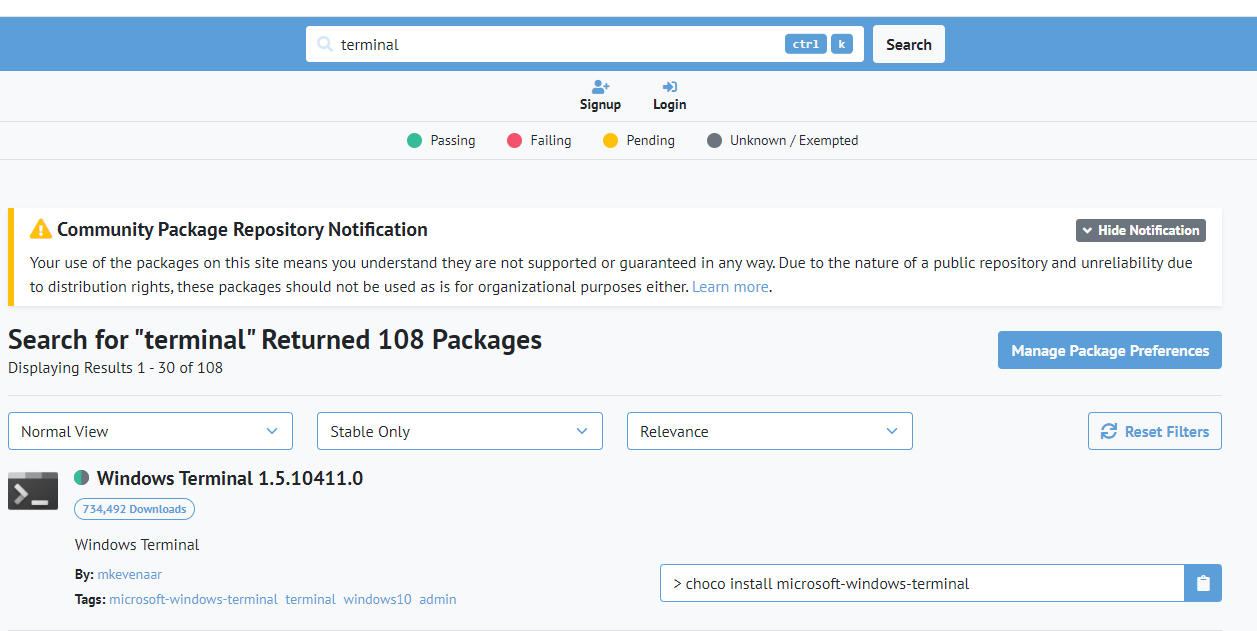
Windows Terminal은 Microsoft Store에서도 설치가 가능합니다.
2. WSL2 설치
WSL(Window Subsystem for Linux) : Window 10에서 Linux를 사용하기 위해 추가된 시스템.
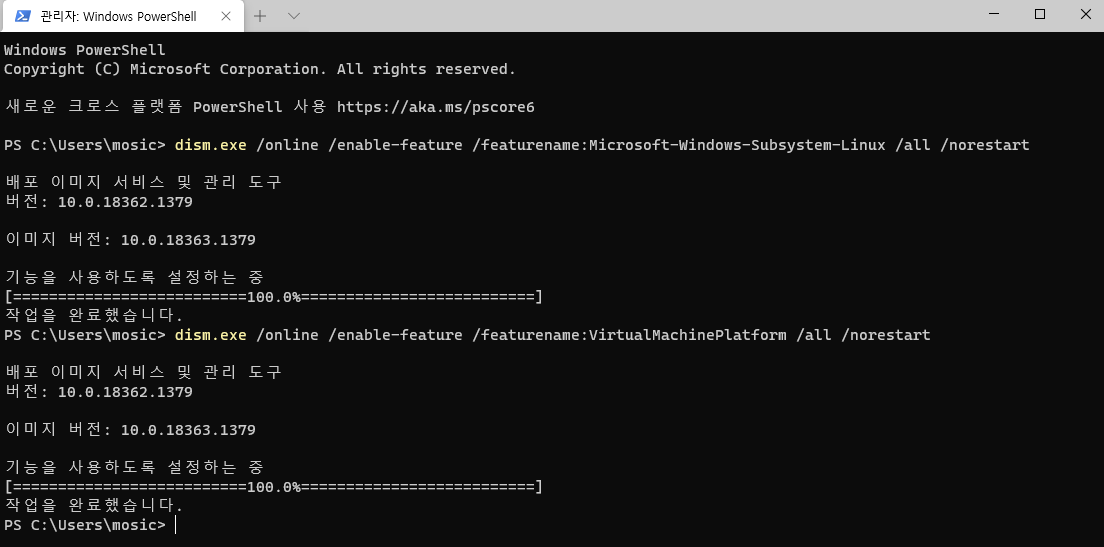
설치한 Windows terminal을 관리자 권한으로 실행하고 아래 명령어들을 실행합니다.
dism.exe /online /enable-feature /featurename:Microsoft-Windows-Subsystem-Linux /all /norestart
dism.exe /online /enable-feature /featurename:VirtualMachinePlatform /all /norestart
(참고: https://docs.microsoft.com/ko-kr/windows/wsl/install-win10)
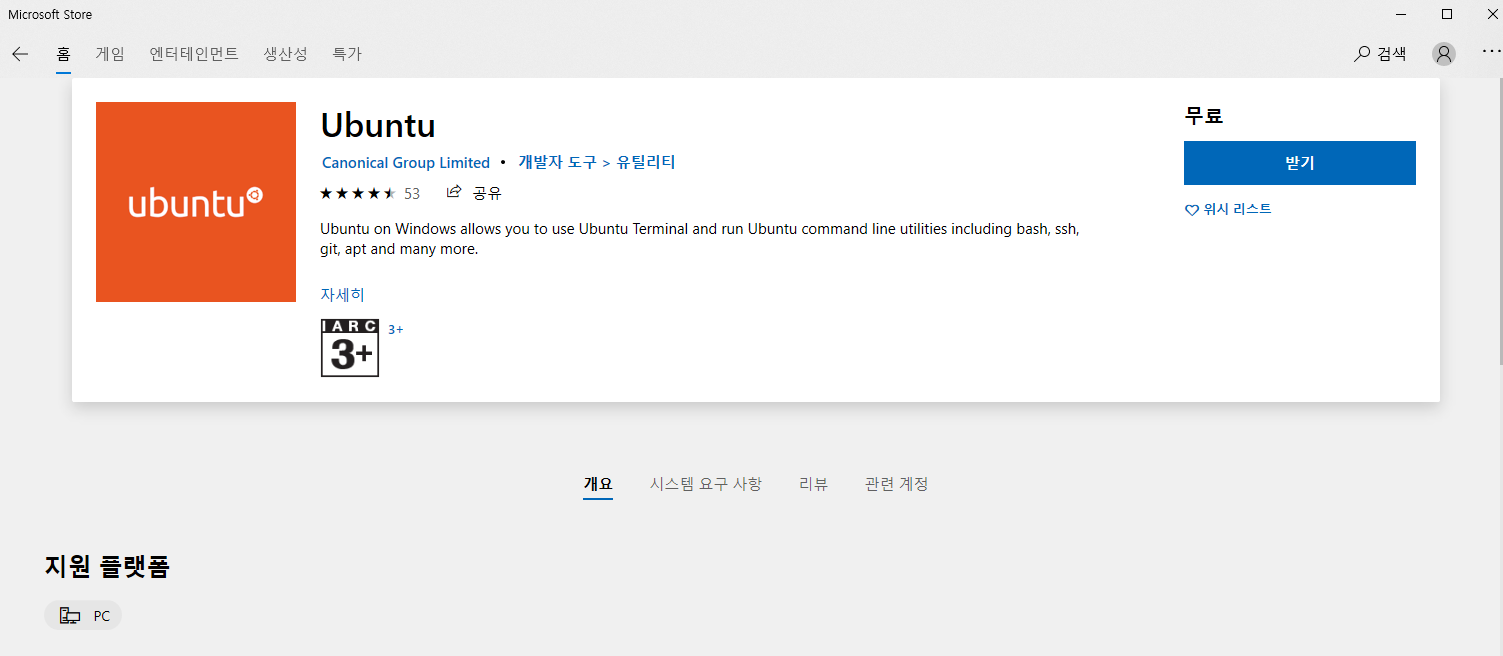
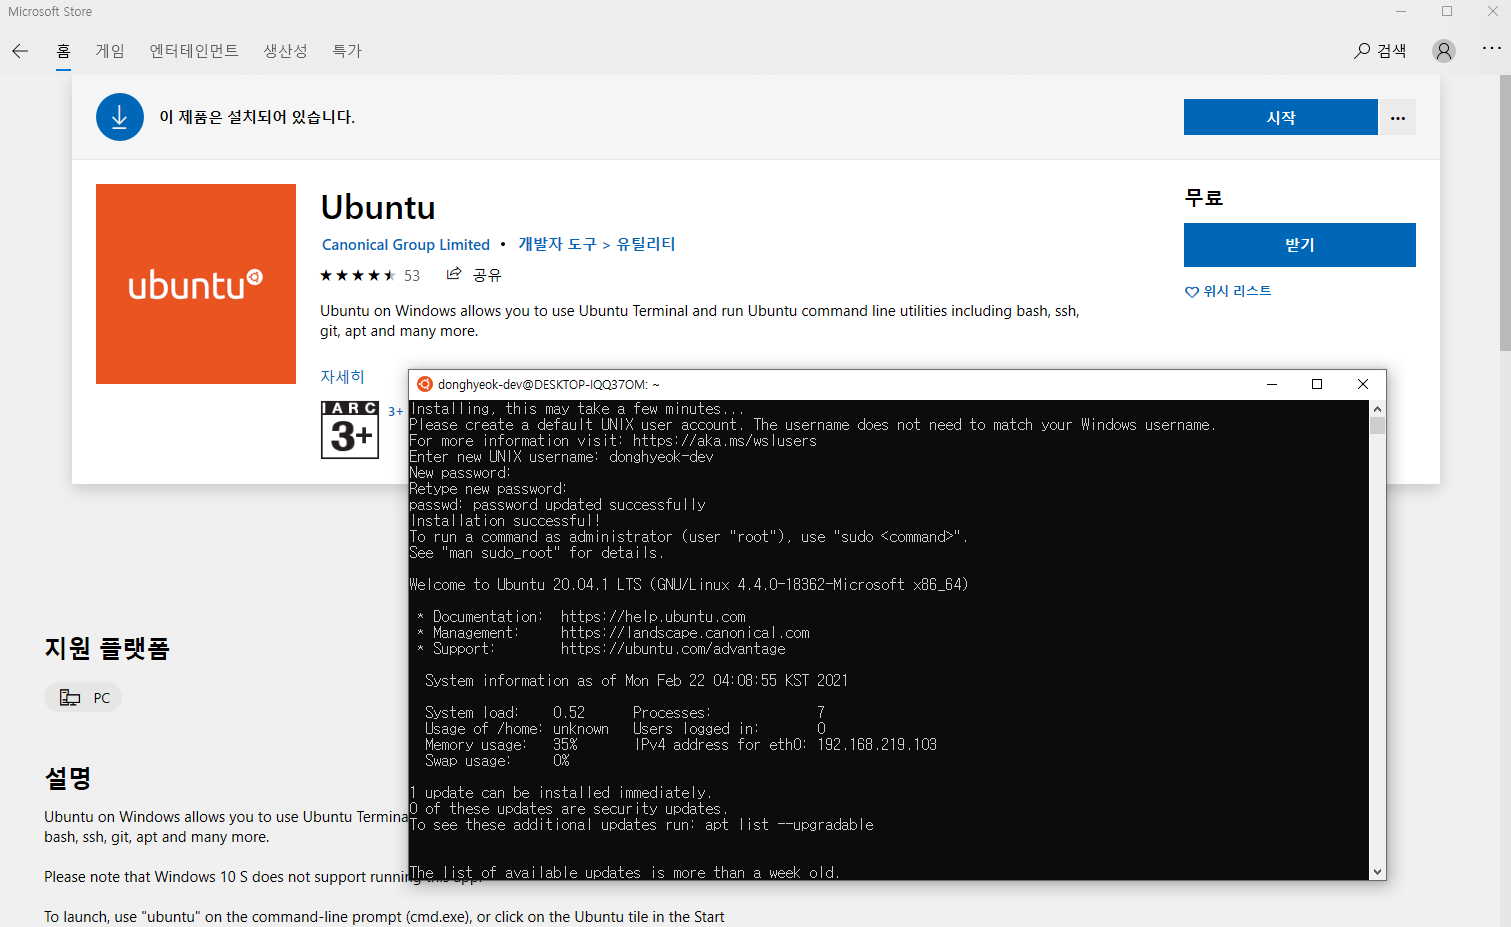
여기까지 진행했다면 컴퓨터 재부팅을 해주고, Microsoft Store에서 unbuntu를 받아서 설치합니다.
설치가 다되면 계정을 만들면 됩니다.
여기까지 진행하셨다면 컴퓨터를 재부팅 해줍니다.
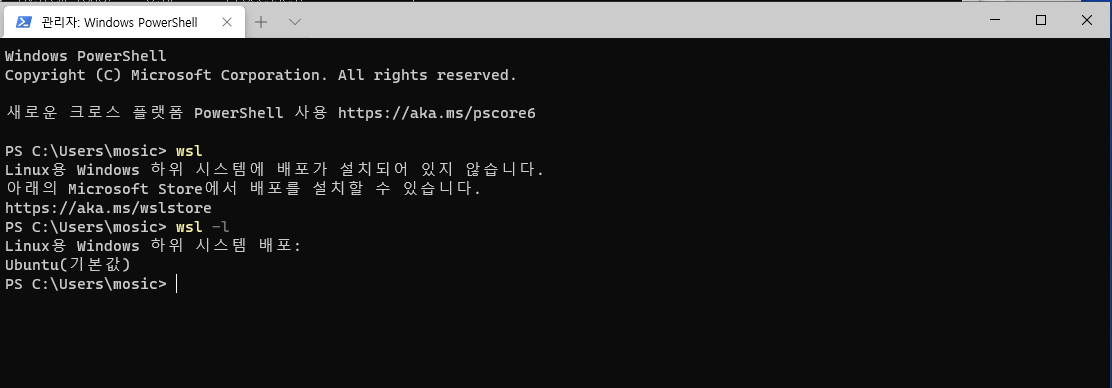
Windows Terminal을 다시 열어서 wsl -l 명령어를 실행하면 Ubuntu가 설치된 걸 확인할 수 있습 니다.
https://docs.microsoft.com/ko-kr/windows/wsl/install-win10에서 4단계와 5단계를 실행 합니다.

WSL 2 상세내용은 https://docs.microsoft.com/ko-kr/windows/wsl/about에서 확인할 수 있습니다.

3. cmder 설치
-
설치 주소: https://cmder.net/
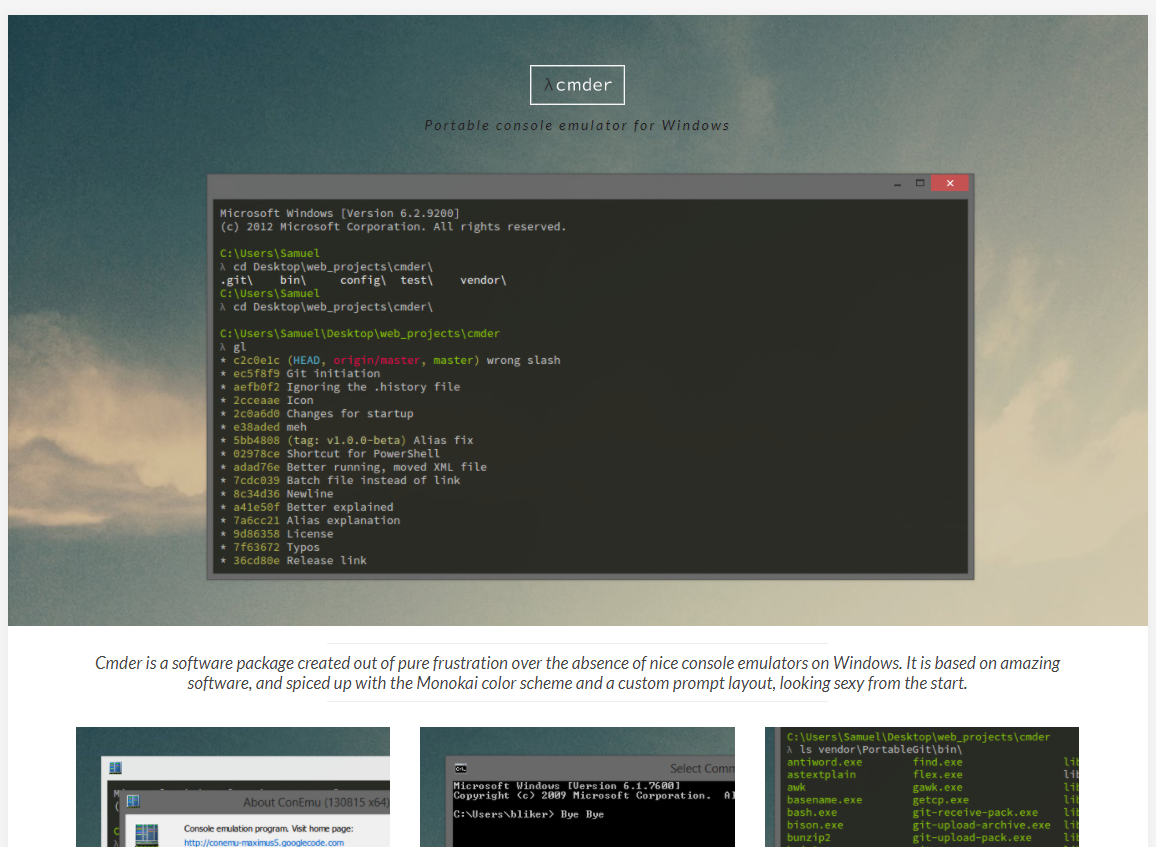
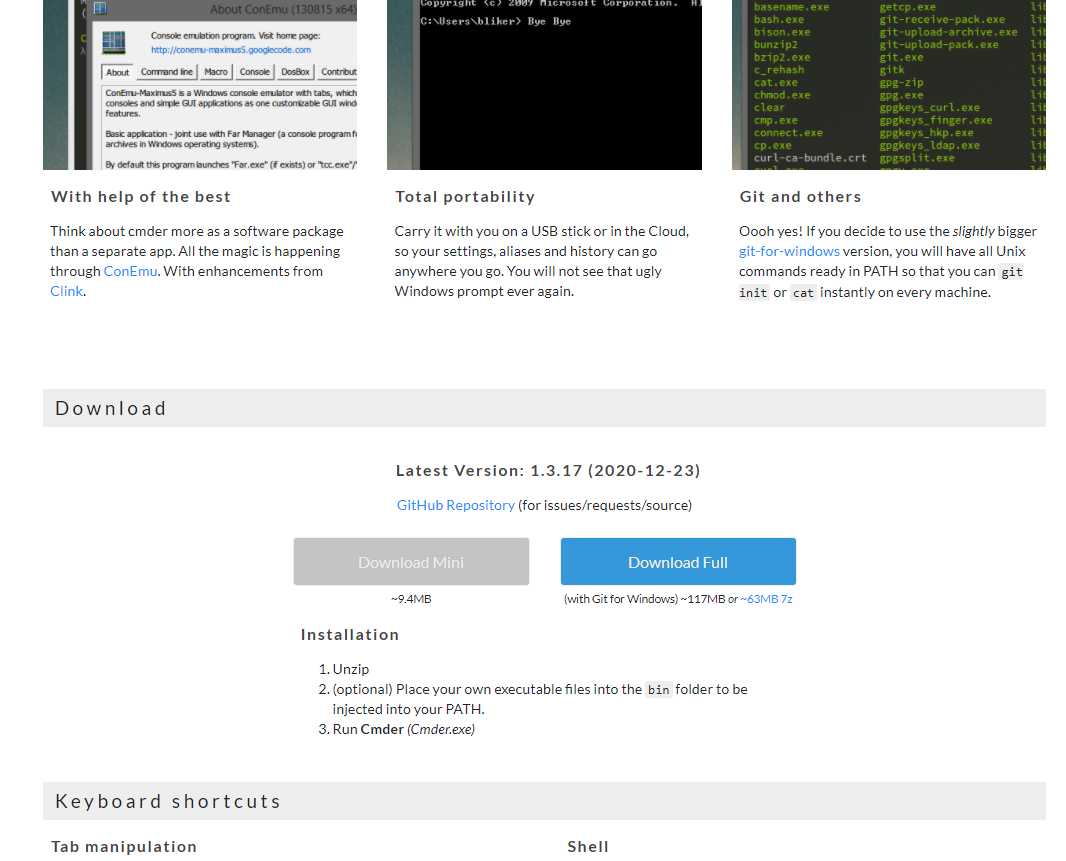
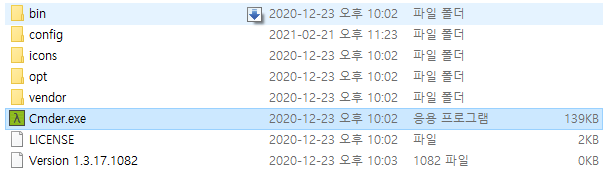
다운받은 파일의 압축을 풀고 Cmder.exe를 실행합니다.
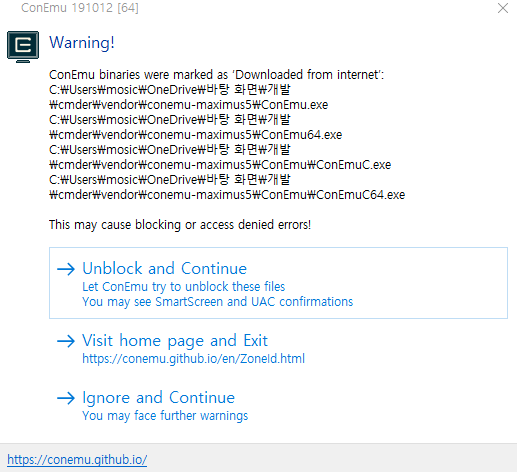
Unblock and Continue를 클릭합니다. 최초에 한번만 실행되는 메시지입니다.
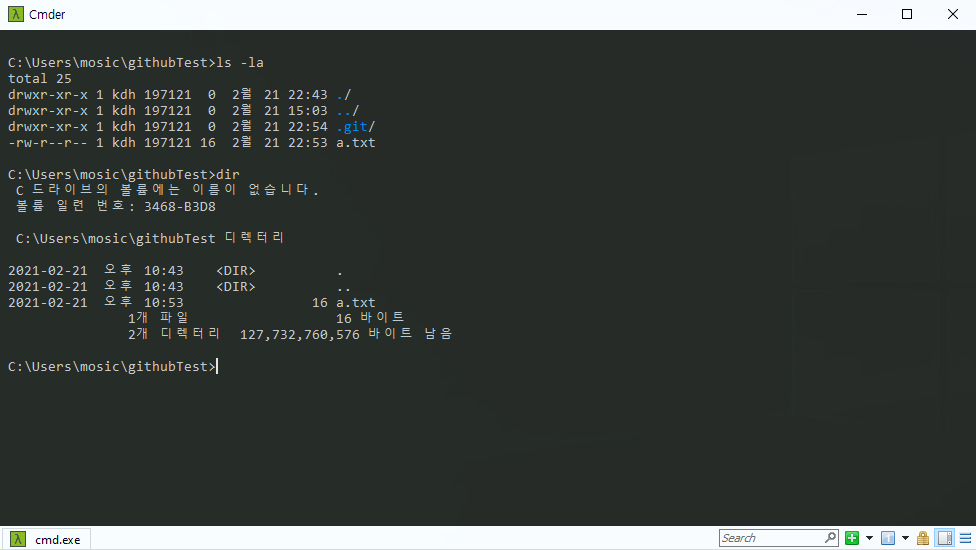
실행이 되면 명령어로 테스트 해보자. Window10 부터 WSL(Windows Subsystem for Linux)가
포함되어서 Unix, Window 명령어 모두 사용가능합니다.
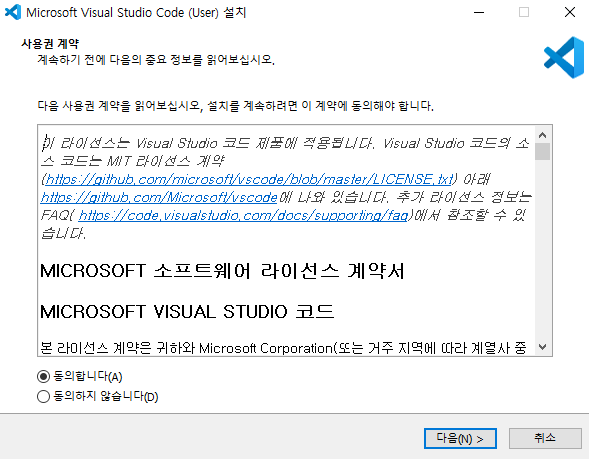
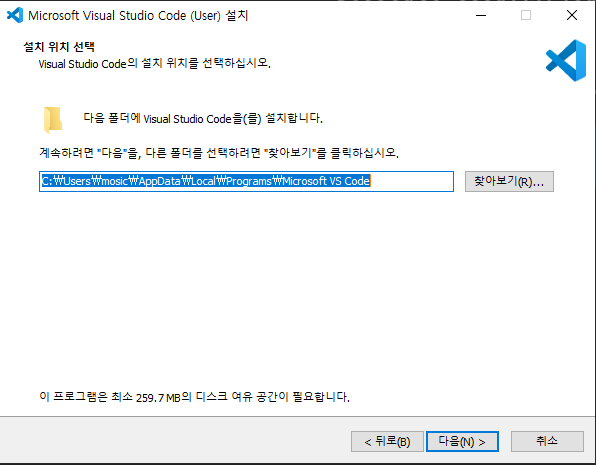
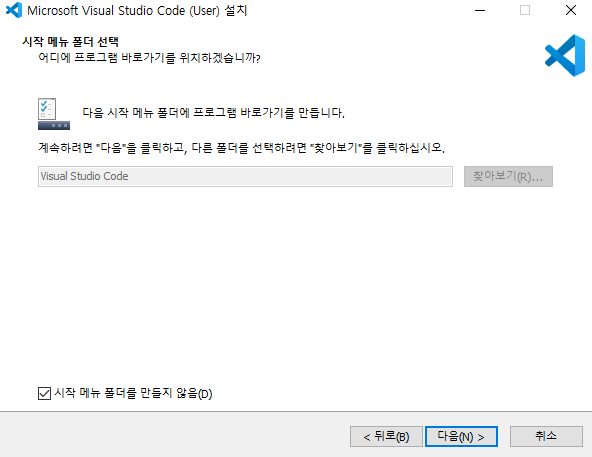
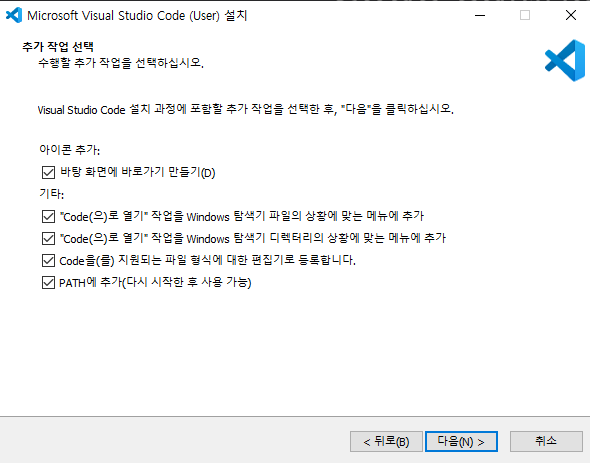
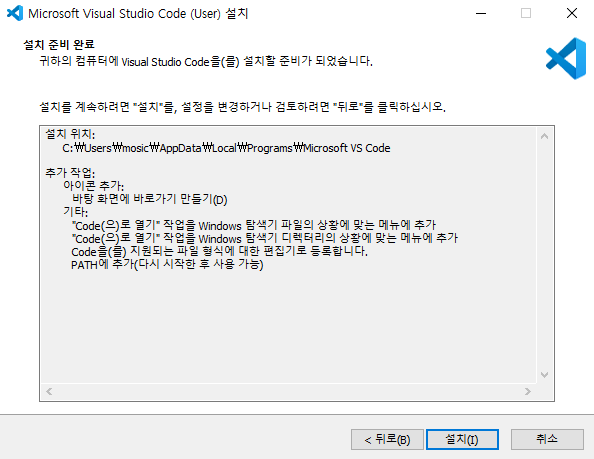
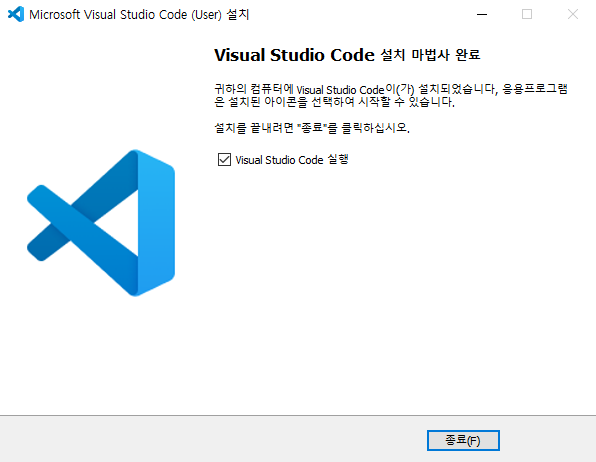
4. Visual Studio Code 설치
-
설치 주소: https://code.visualstudio.com/
-
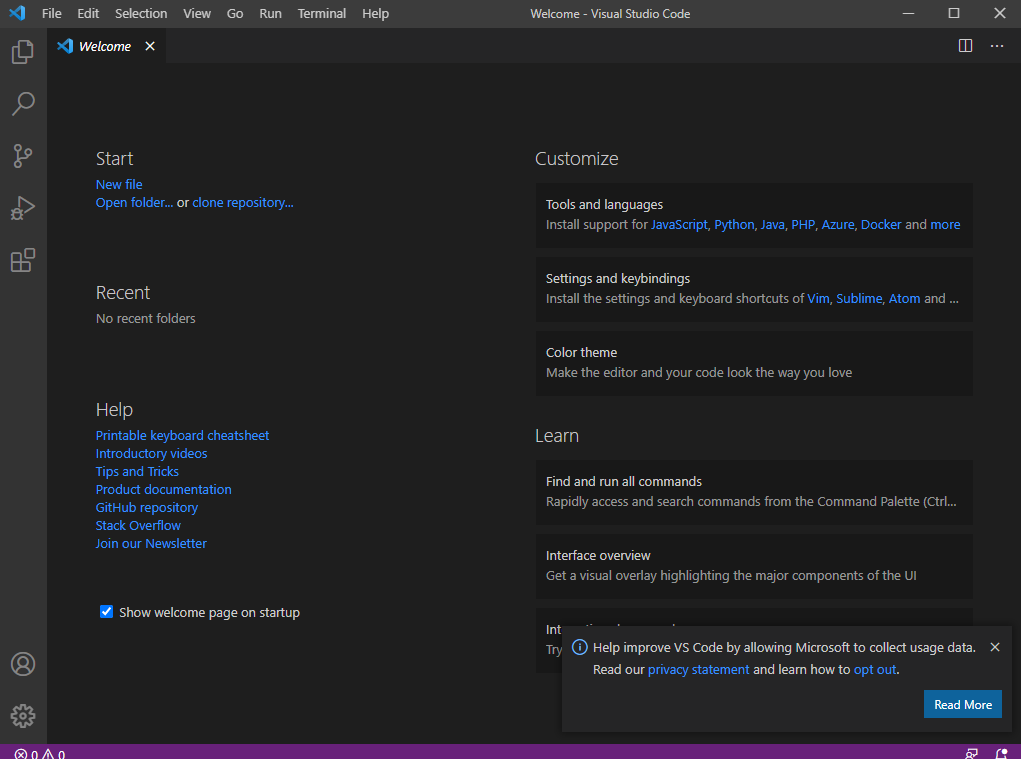
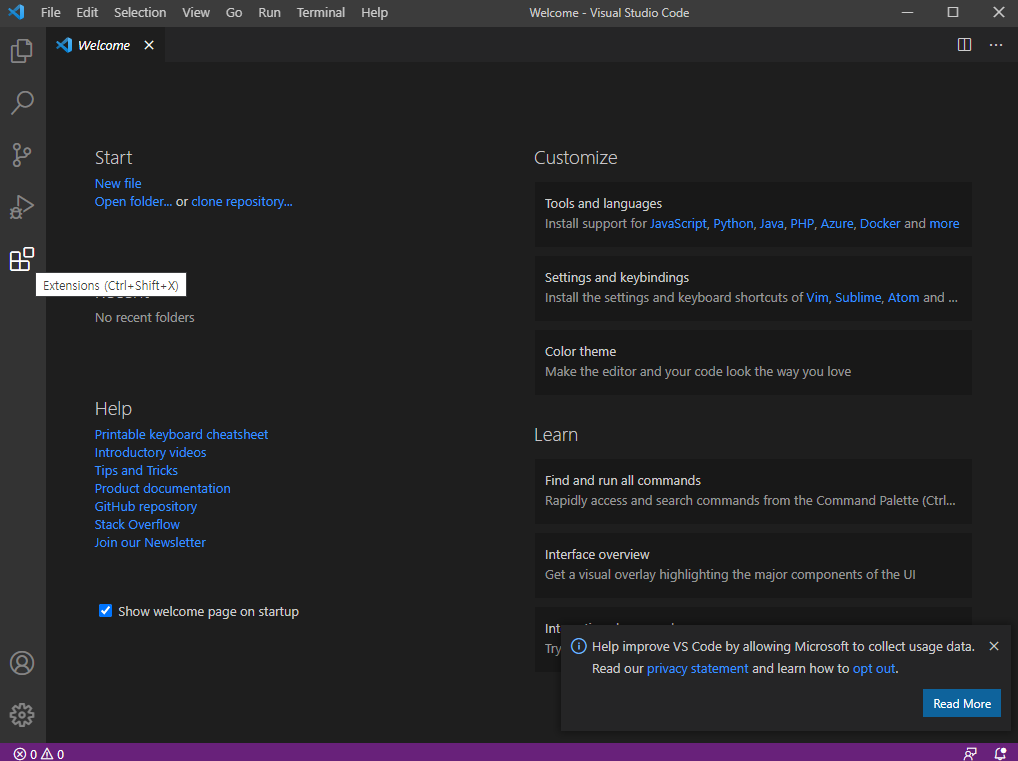
Customizing VSCode
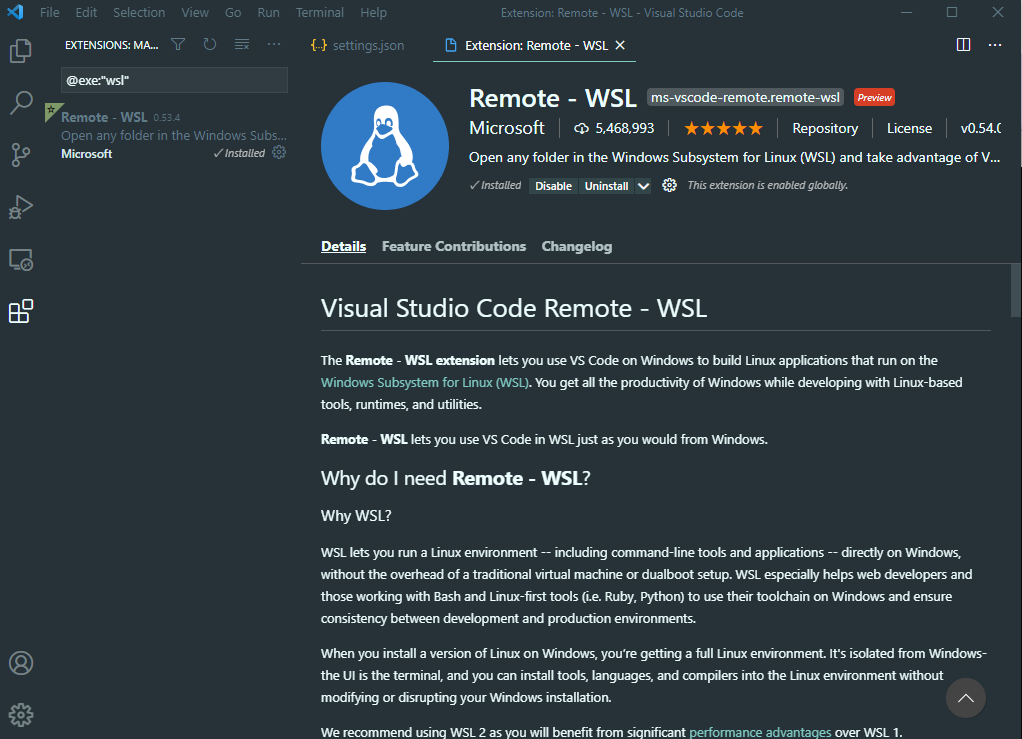
좌측 메뉴에서 Extensions를 클릭합니다.
material theme를 검색하여 install합니다.

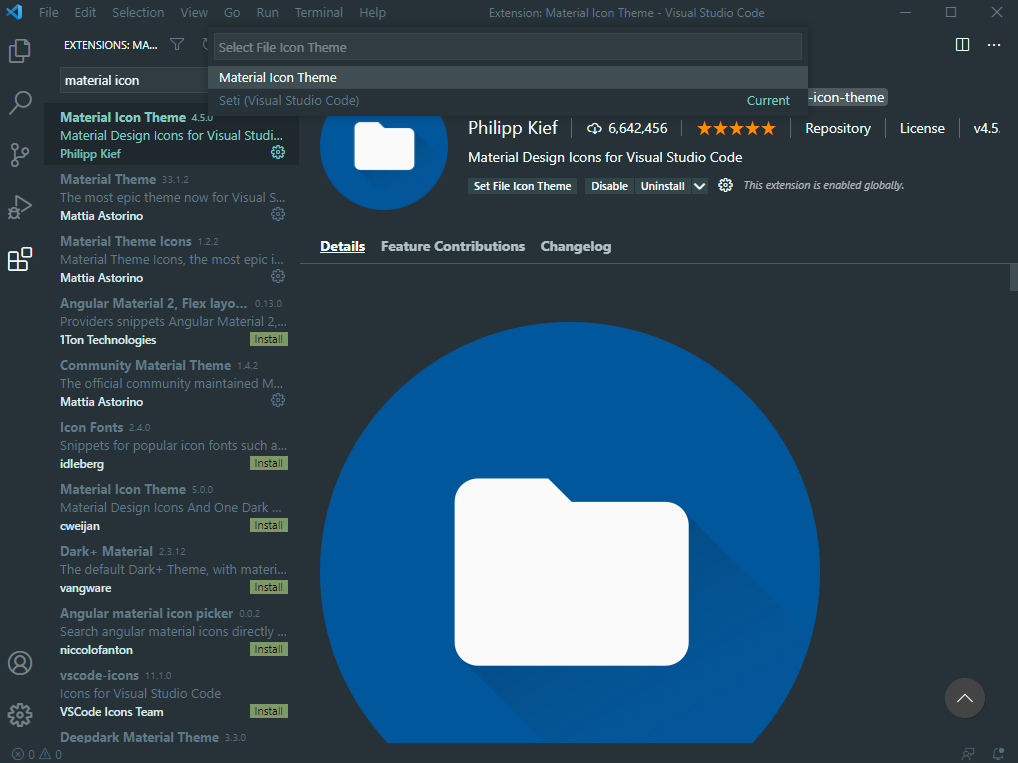
material icon을 검색하여 install합니다.
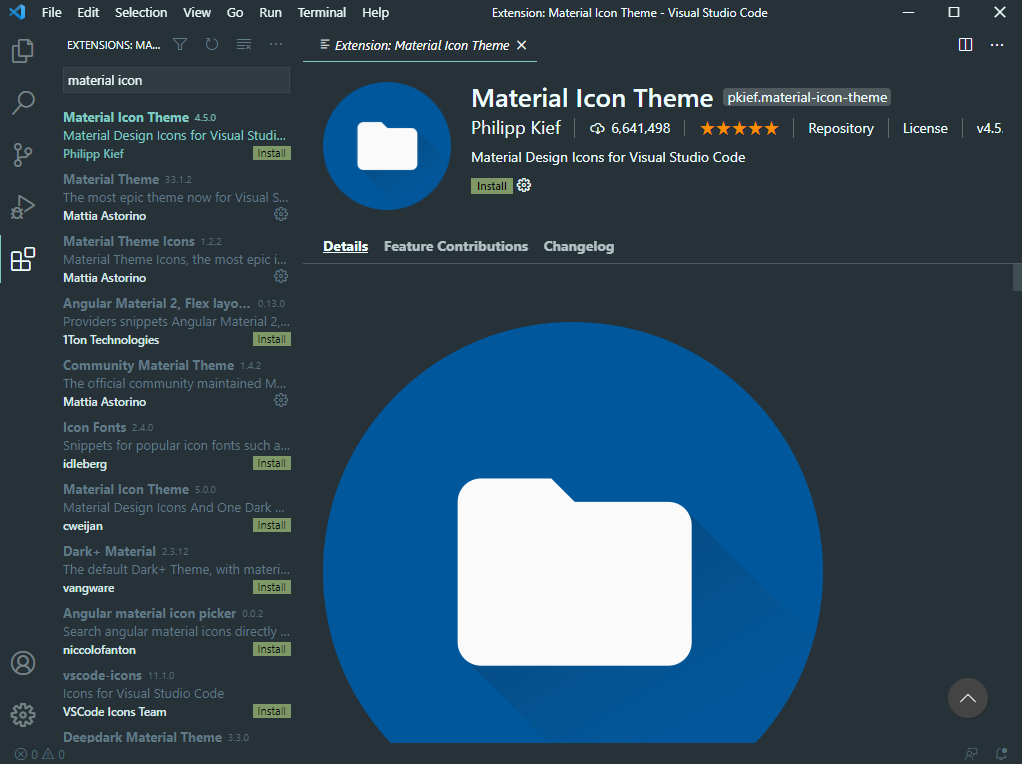
설치가 끝나면 Material Icon Theme를 선택 해줍니다.
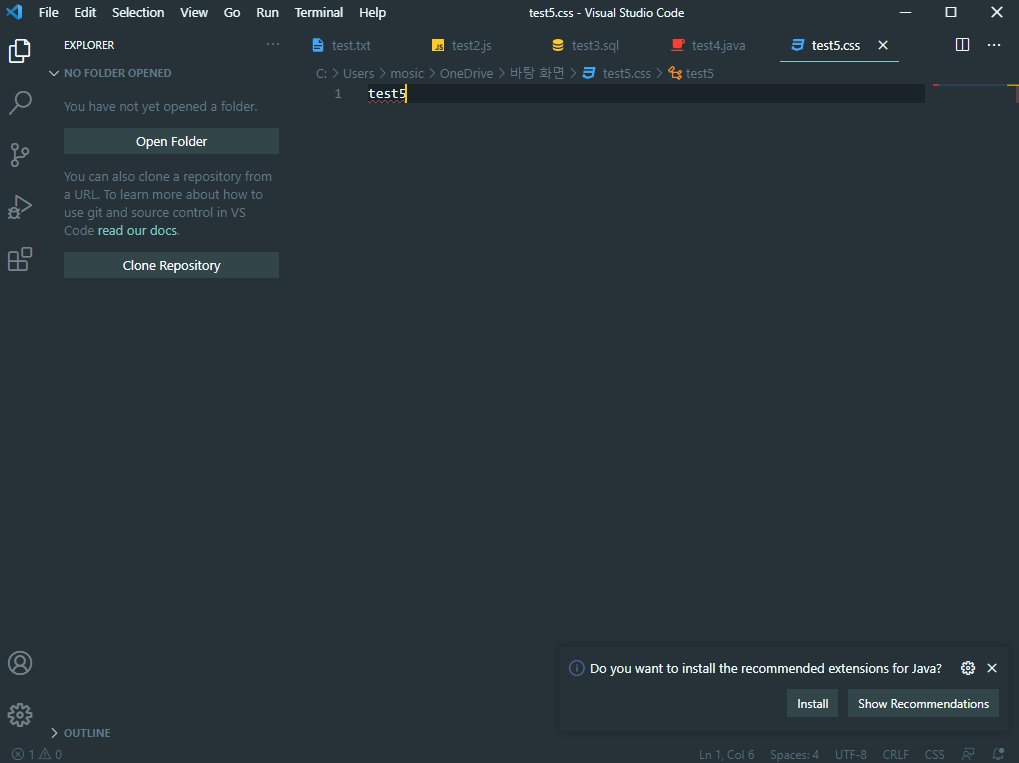
File에서 New File(Ctrl+N)으로 여러 확장자 파일을 만들어 보면 각각 다른 아이콘이 적용된 걸 볼 수 있습니다.
5. ZSH 및 oh-my-zsh 설치
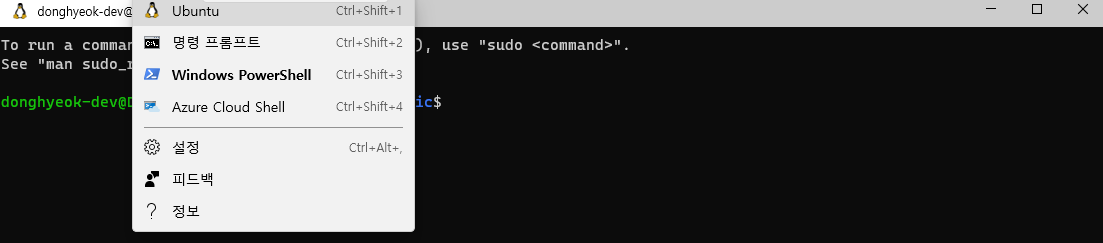
Windows terminal(Ubuntu 터미널)을 실행합니다.
Ubuntu터미널 선택은 터미널 상단 + 버튼 옆에 V 버튼을 누르면 터미널 종류를 설정할 수 있고,
설정에서 기본터미널 정보를 변경할 수 있습니다.

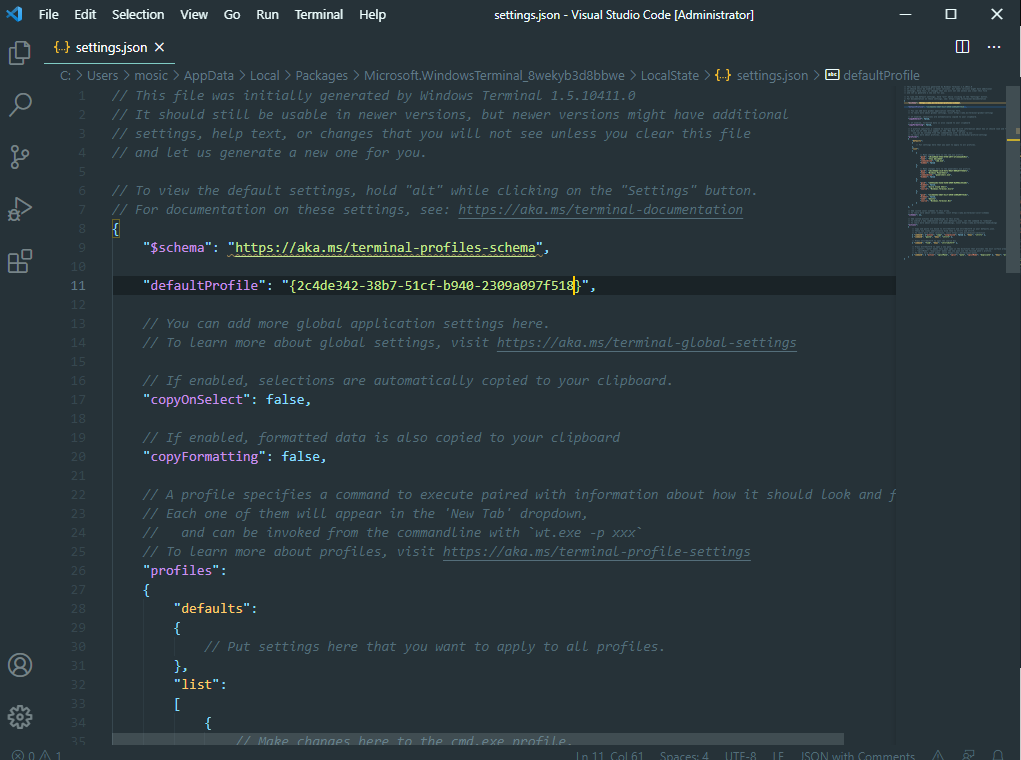
List에서 Ubuntu의 guid값을 복사하여
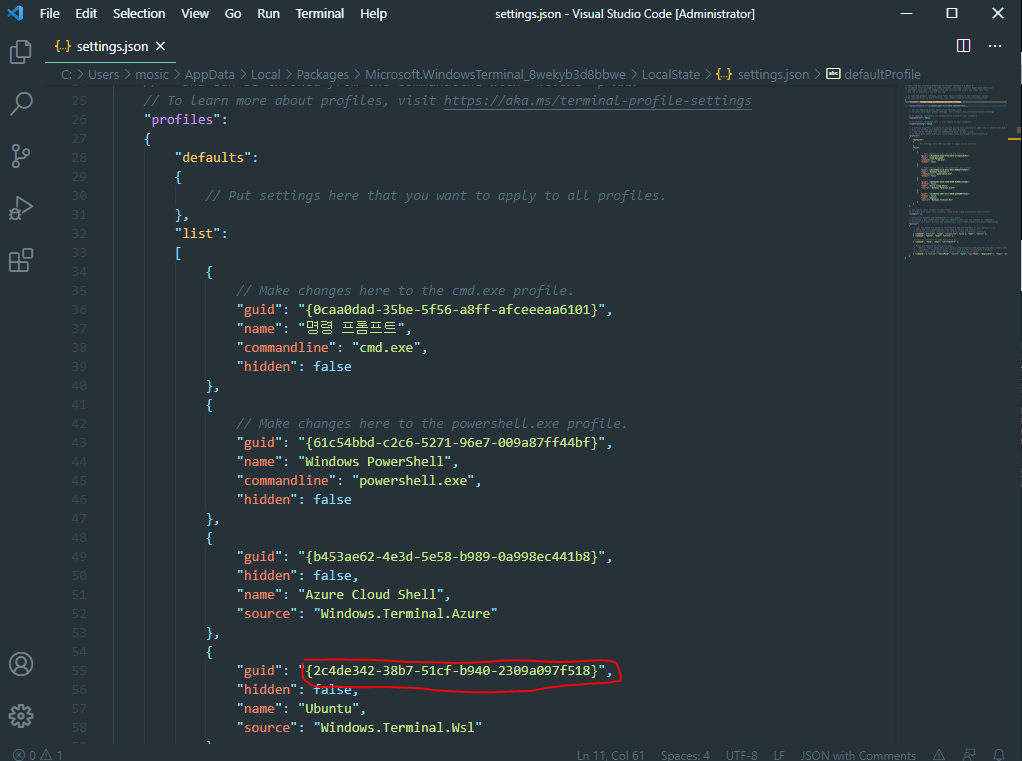
defaultProfile 부분에 붙여 넣으면 됩니다.
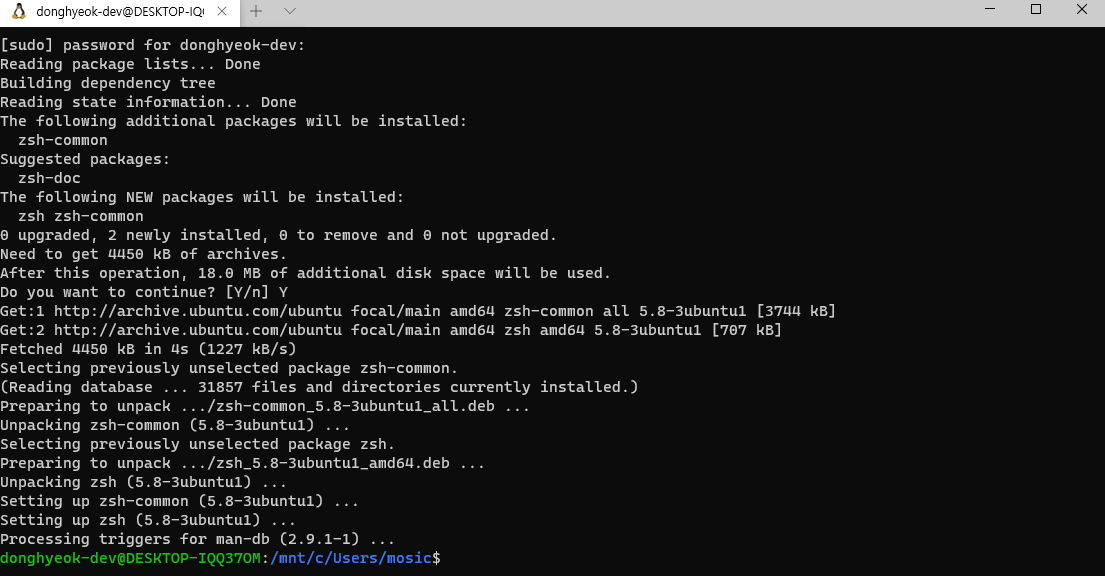
sudo apt install zsh 명령어를 실행합니다.
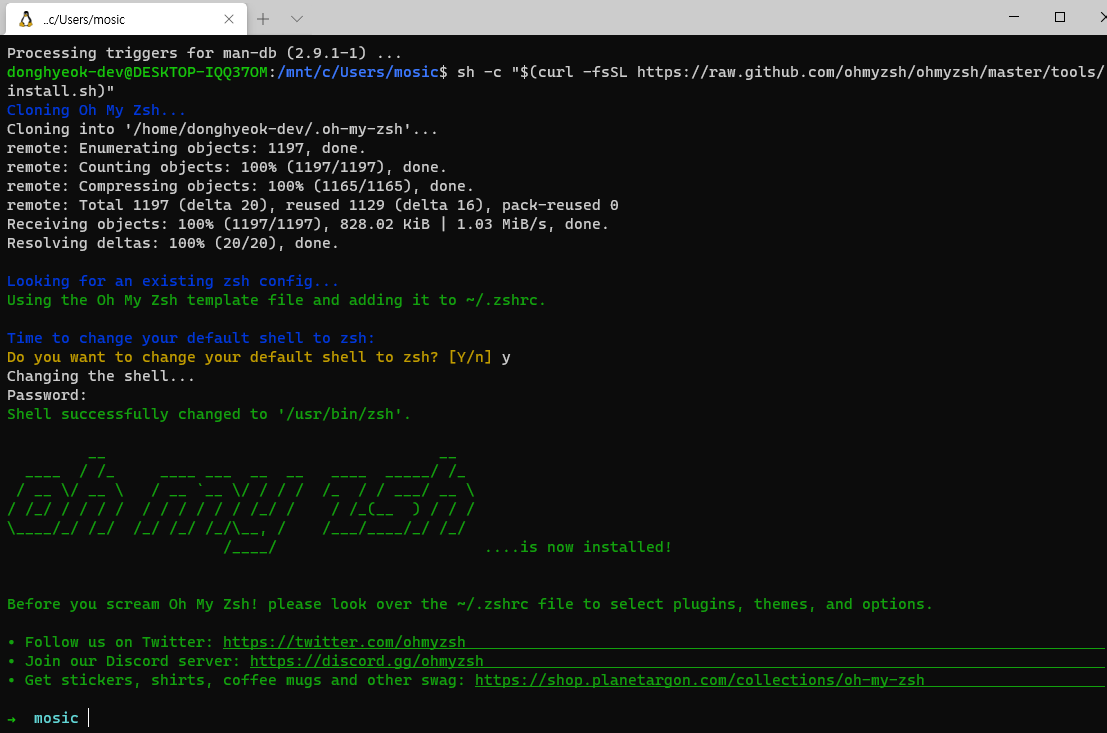
https://ohmyz.sh/#install oh-my-zsh 설치 가이드 대로 다음 명령어를 실행합니다.
sh -c "$(curl -fsSL https://raw.github.com/ohmyzsh/ohmyzsh/master/tools/install.sh)" 명령어를 실행합니다.
터미널을 다시 열고 터미널에 code 명령어를 실행합니다. (for visual studio code)
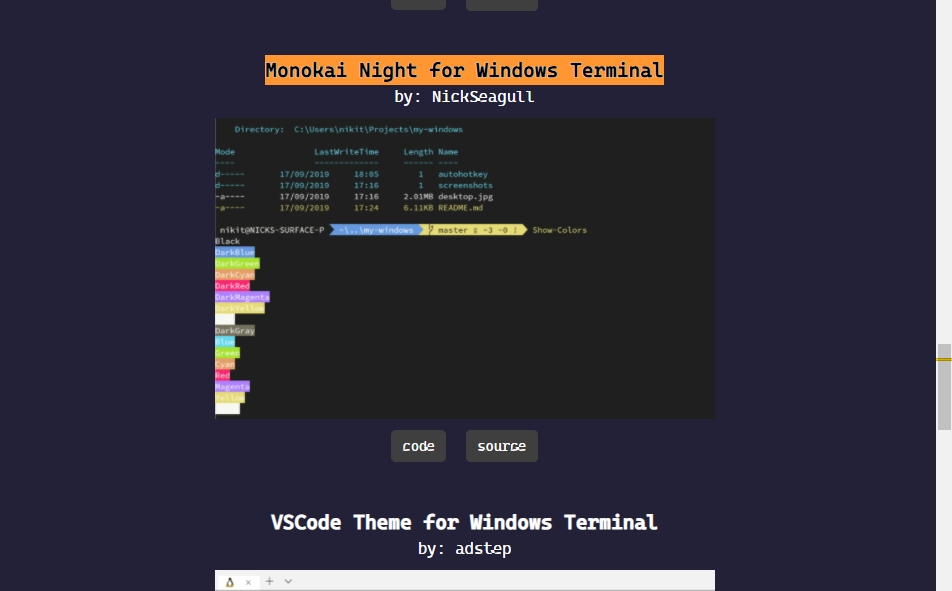
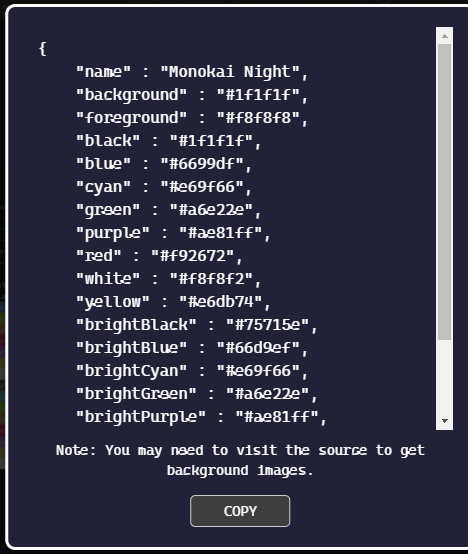
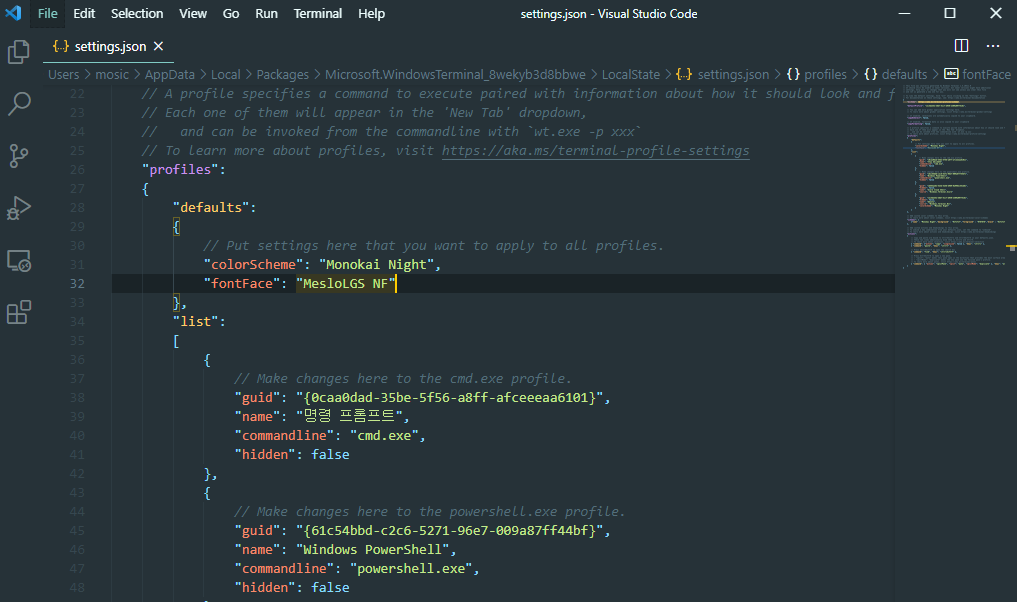
터미널 테마 https://terminalsplash.com/에서 Monokai Night for Windows Terminal를 검색해서 Code버튼을 누르면 코드 정보가 나오는데 그걸 복사하여 Setting파일에 적용합니다.
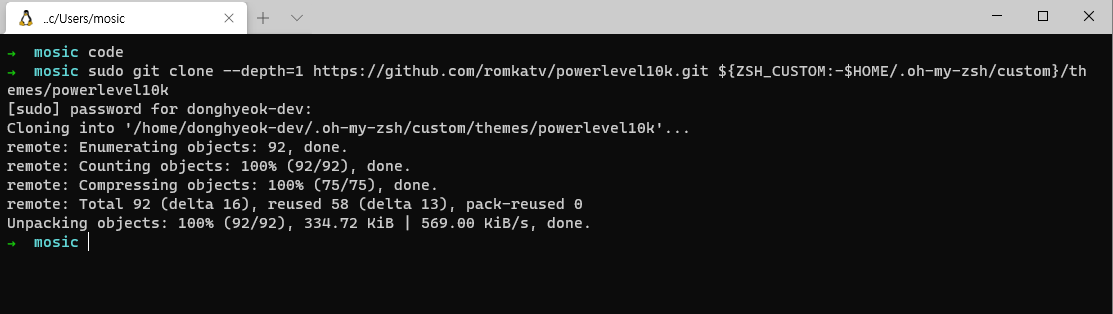
oh-my-zsh를 이용해 zsh 테마를 설정하기 위해 powerlevel10k를 참고하여 설치합니다.
sudo git clone –depth=1 https://github.com/romkatv/powerlevel10k.git ${ZSH_CUSTOM:-$HOME/.oh- my-zsh/custom}/themes/powerlevel10k
code ~/.zshrc 를 입력하고 액세스 허용을 해줍니다.
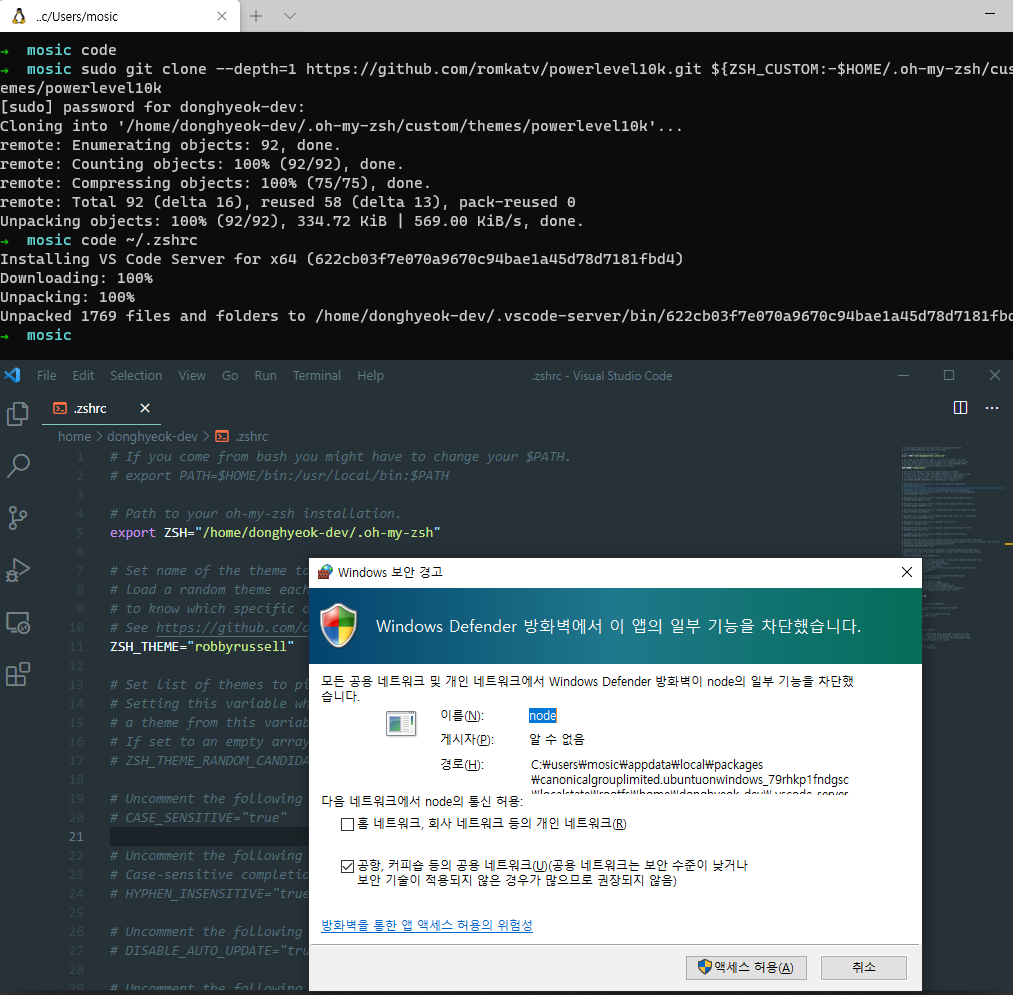
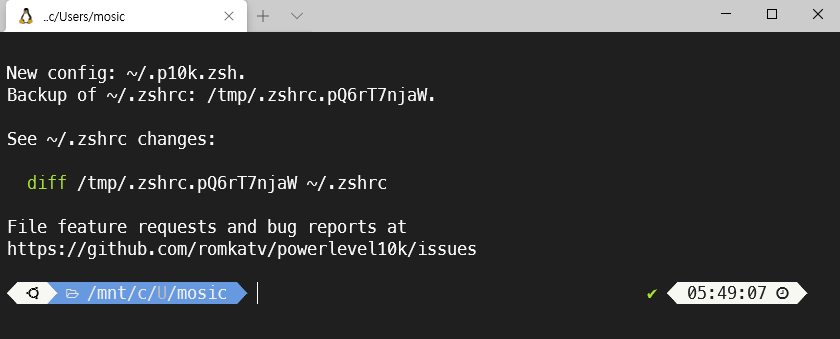
설정파일에서 ZSH_TEHME를 powerlevel10k/powerlevel10k로 변경하고 저장한 다음 설정창을 닫고
터미널을 닫고 다시 열면 아래처럼 보입니다.
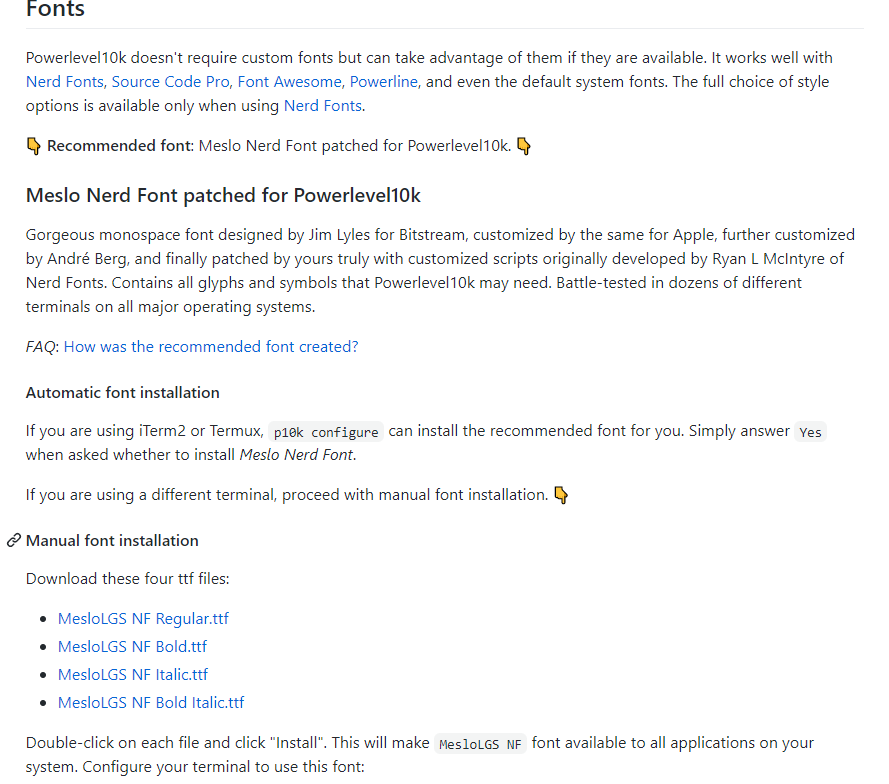
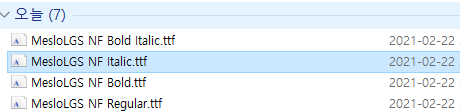
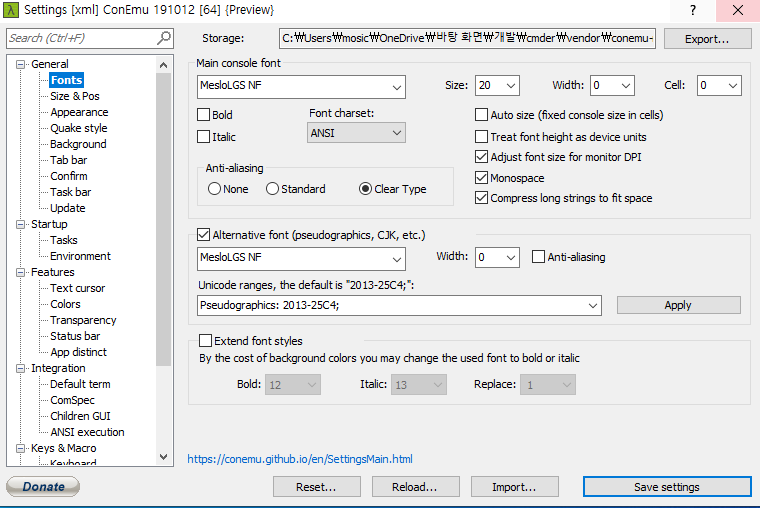
폰트설치에 접속하여 아래 MesloLGS 폰트 4개를 다운로드 받습니다.
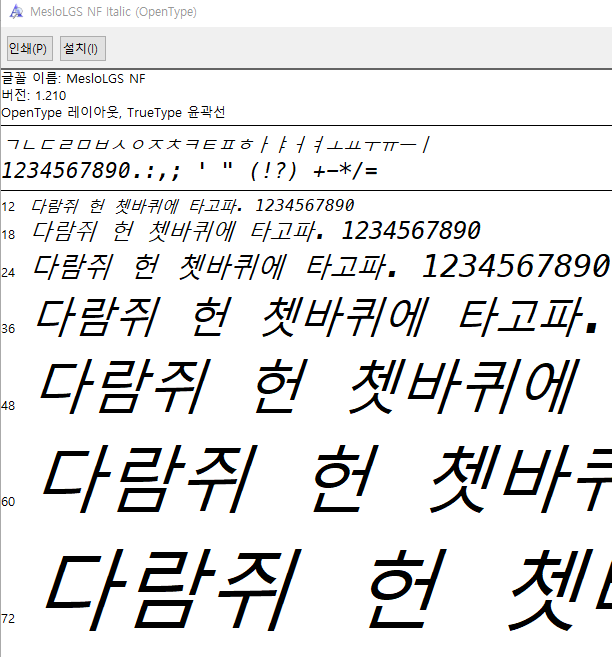
다운받은 파일 각각 더블클릭하여 열고 왼쪽 상단에 설치 버튼을 클릭하여 설치합니다.
다시 settings.json파일에서 defaults에 설치한 “MesloLGS NF”를 fontface로 추가 해줍니다.
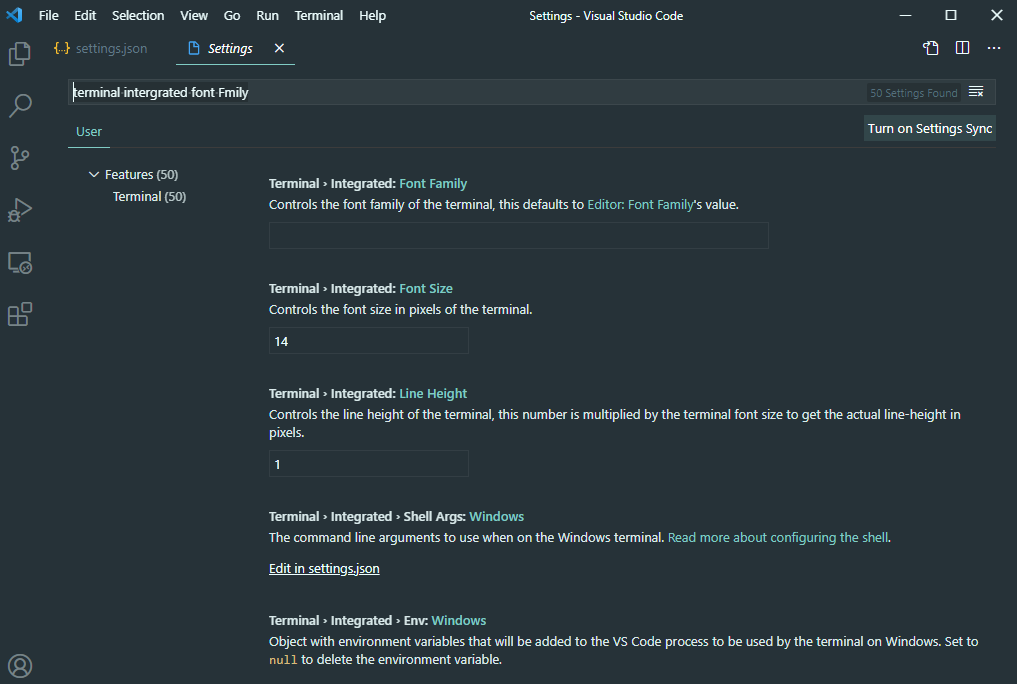
그리고 visual studio 우측 하단 설정 > settings에서 terminal intergrated font Fmily를 검색하고 “MesloLGS NF”를 입력합니다.
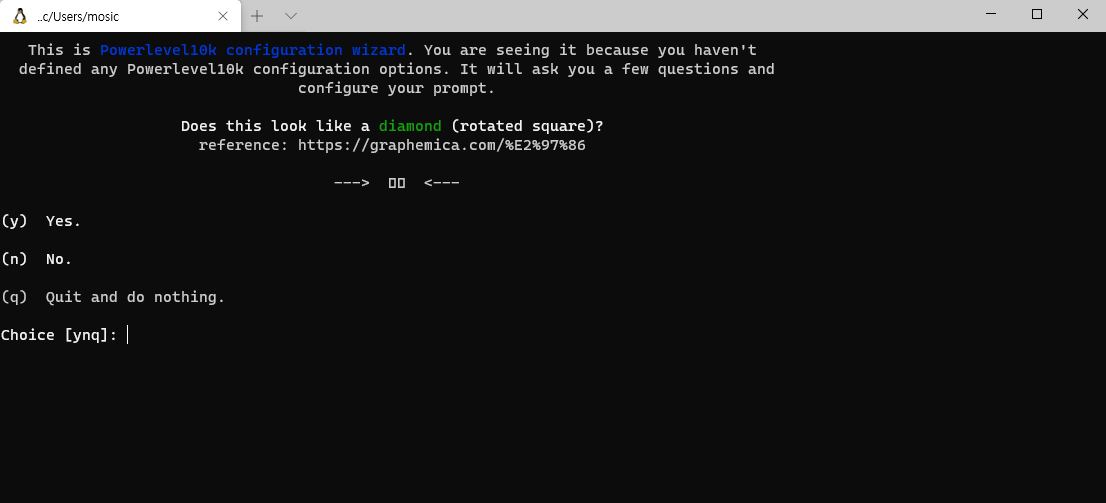
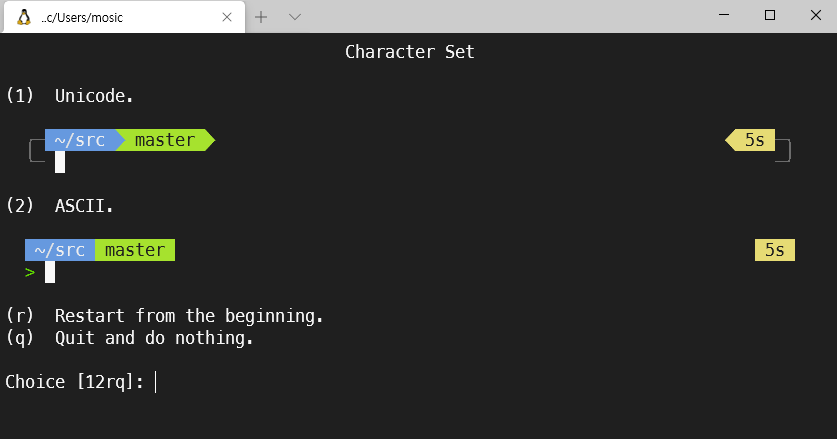
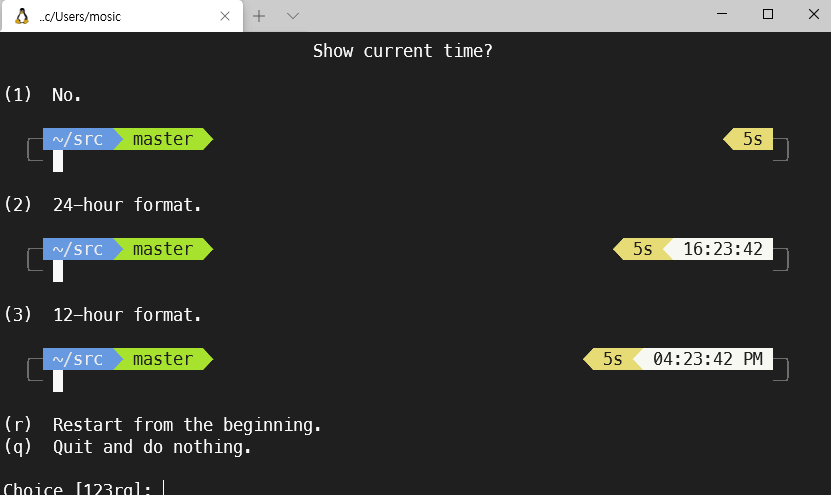
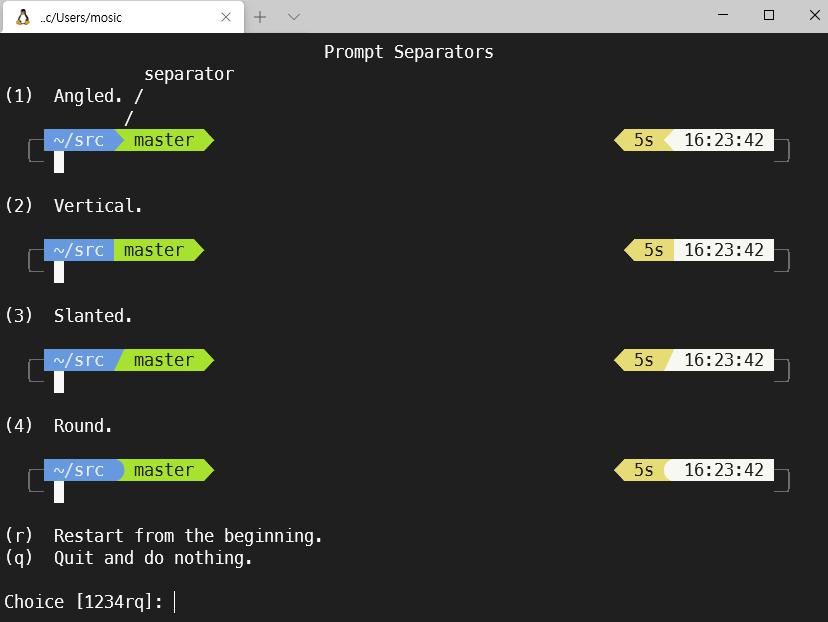
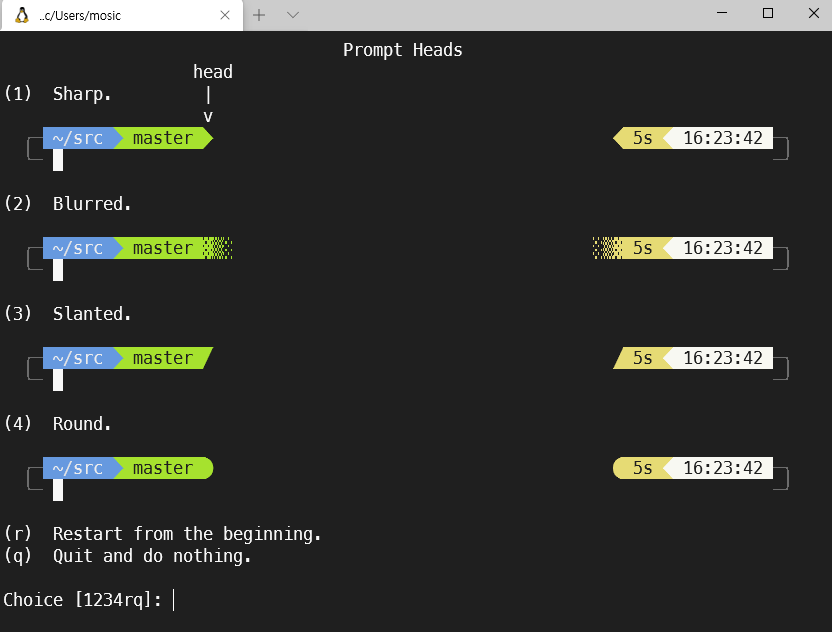
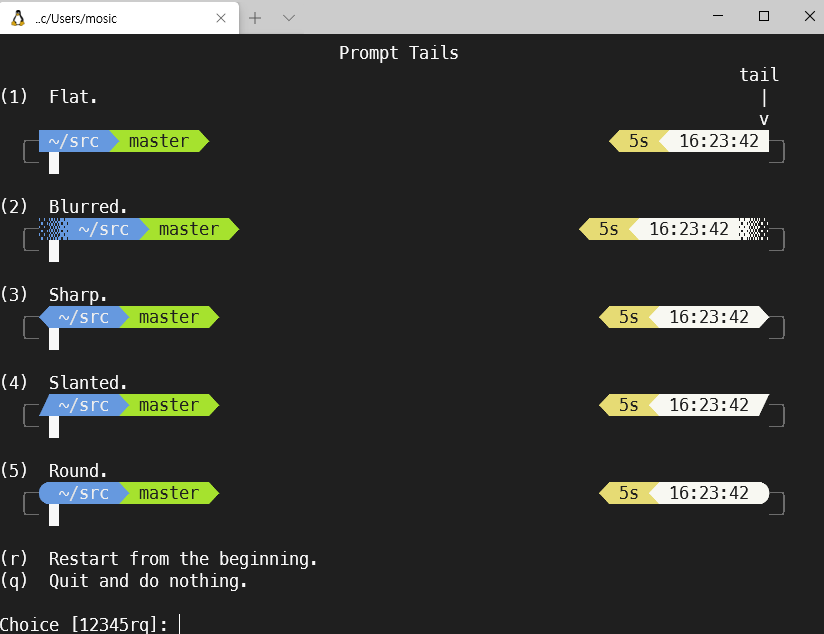
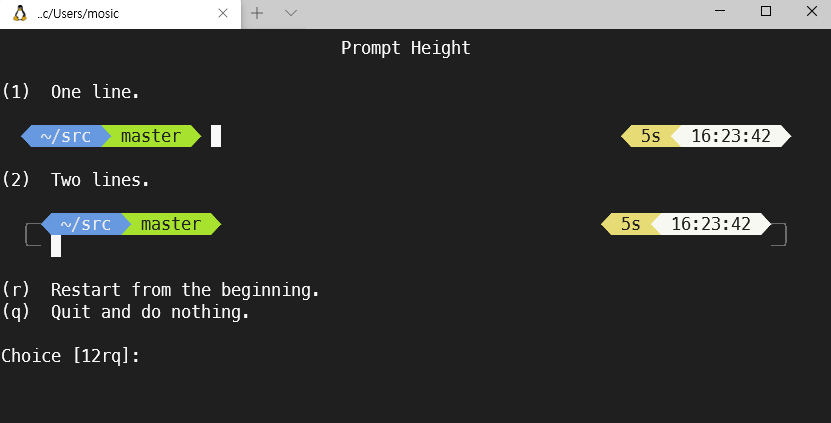
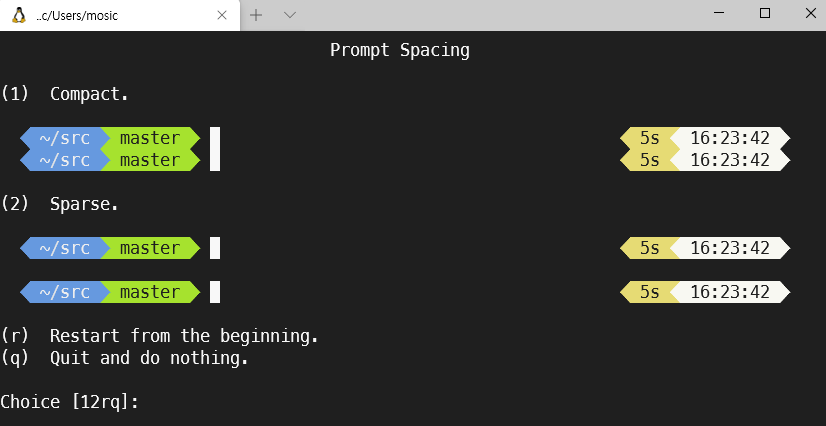
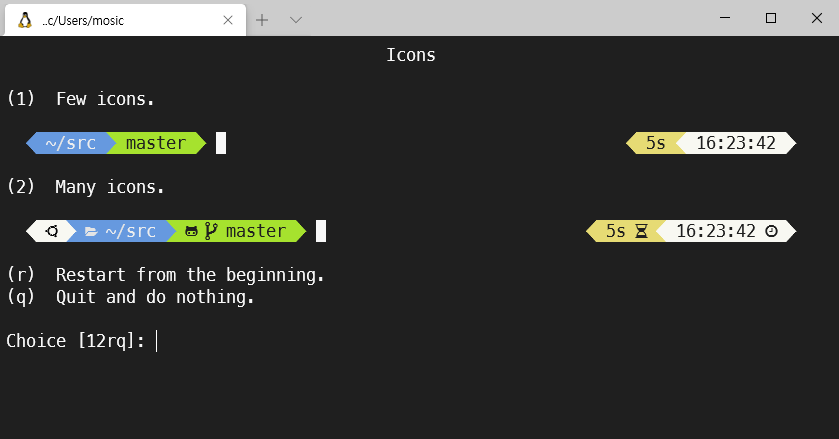
windows terminal을 열면 아까 깨져보이는 폰트가 정상적으로 보일것이다. 나머지는 그림따라 설정합니다.
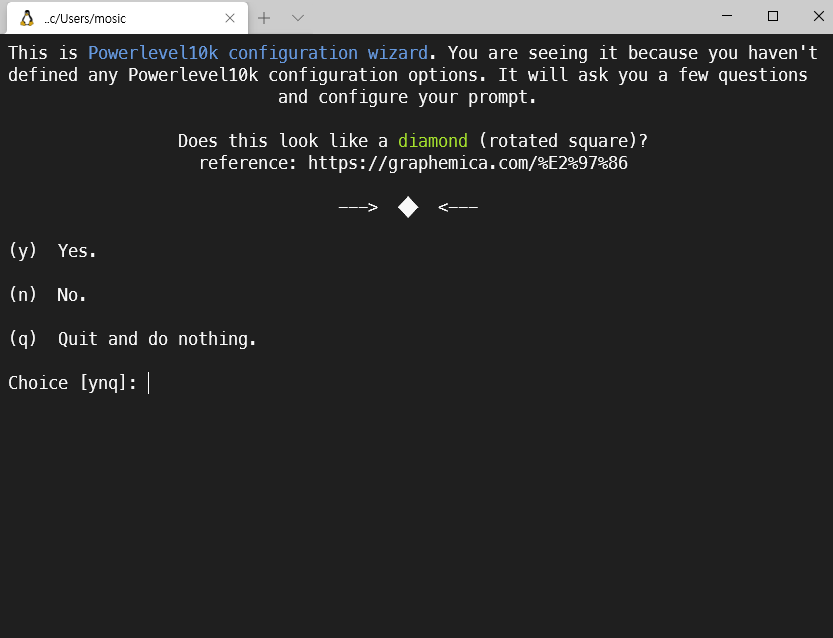
y
y
y
(3) Rainbow를 선택.
(1)Unicode.
(2) 24-hour format
(1) Angled
(1) Sharp
(3) Sharp
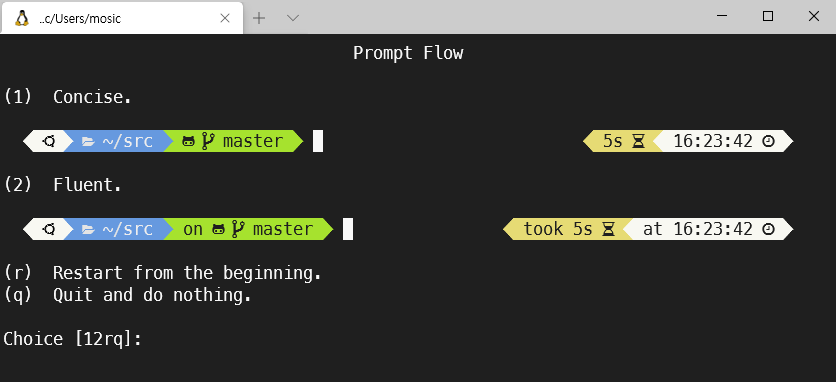
(1) One line
(1) Compact
(2) Many icons
(1) Concise
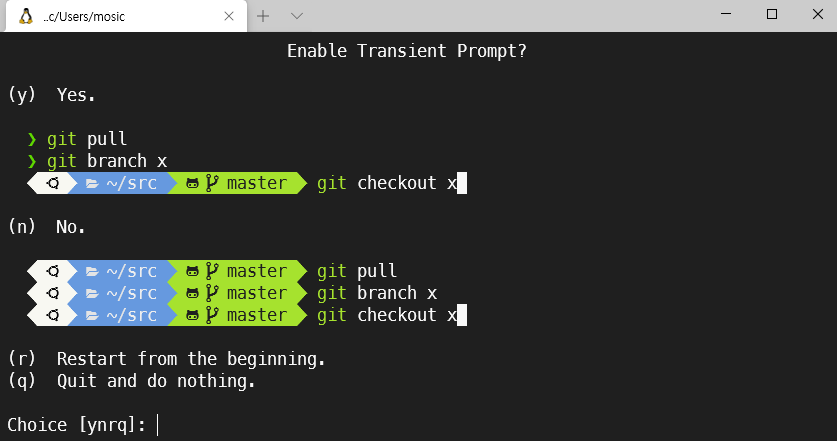
(n)No
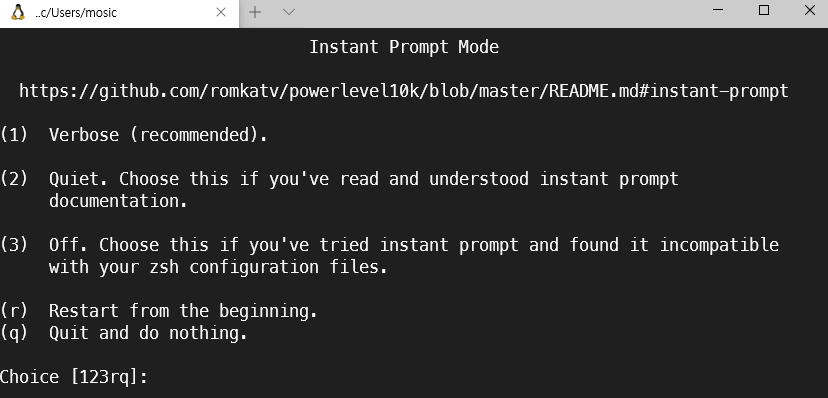
(3) Instant Prompt Mode를 시도해본 적이 없거나 경고를 본 적이 없거나 이 모든 것이 무엇을 의미하는지 모를 경우 3번을 선택하세요.
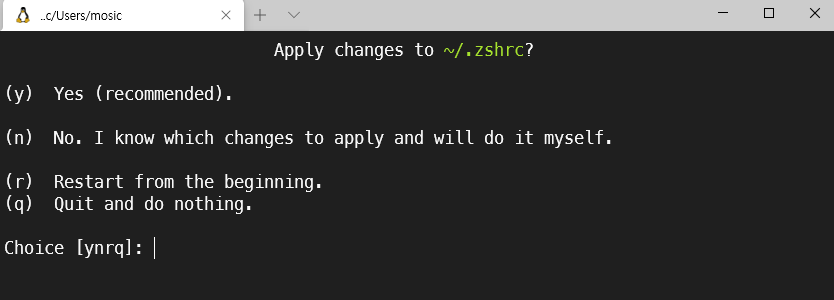
(y)Yes
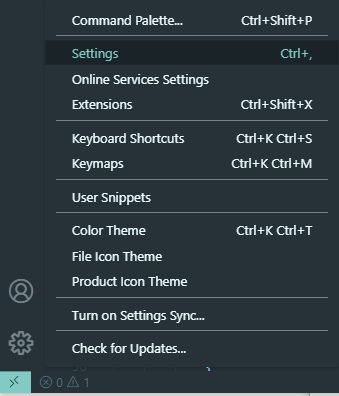
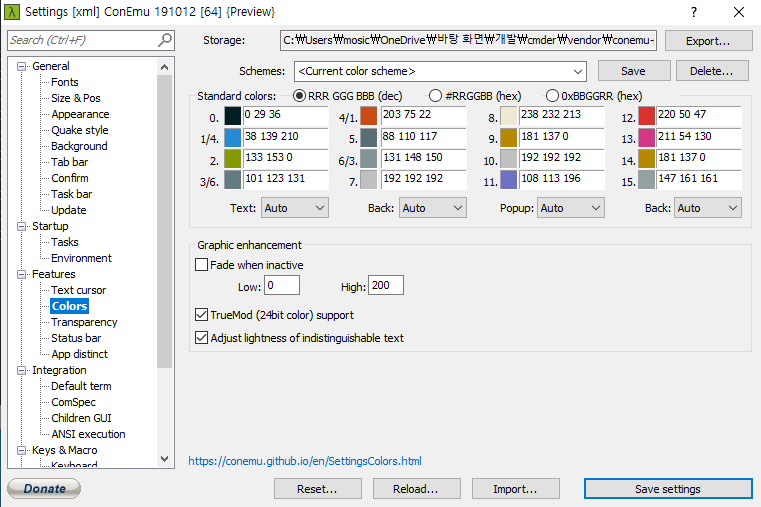
visual studio code를 사용할 경우 아래 설정을 해줍니다.
Settings에서 우측 상단에 아이콘을 클릭하여 Settings.json파일이 편집합니다.
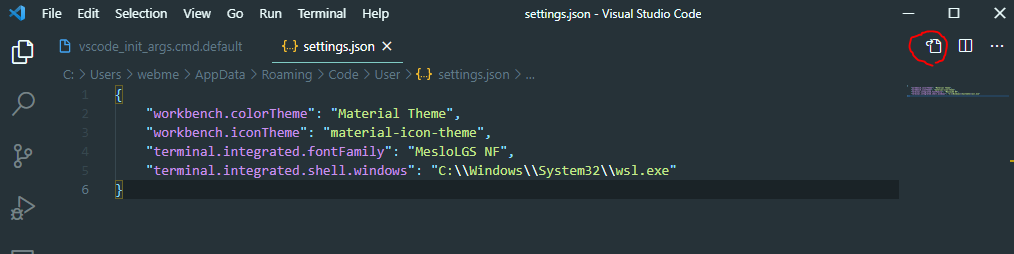
아래 내용을 붙여 넣고 저장합니다.
{
    "workbench.colorTheme": "Material Theme",
    "workbench.iconTheme": "material-icon-theme",
    "terminal.integrated.fontFamily": "MesloLGS NF",
    "terminal.integrated.shell.windows": "C:\\Windows\\System32\\wsl.exe"
}
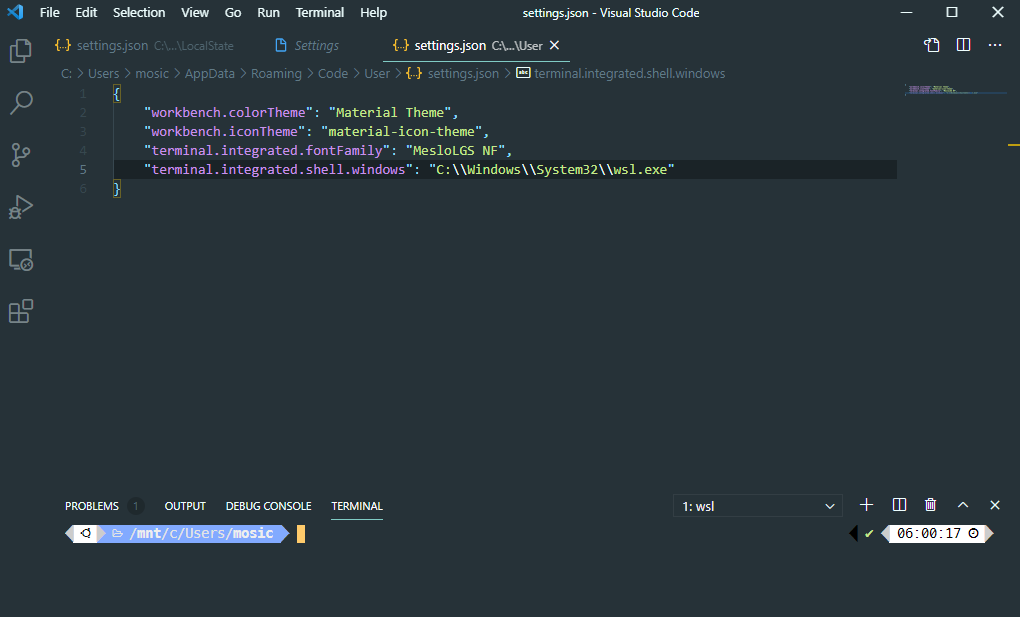
상단 메뉴 View > Terminal을 클릭하면 아래와 같이 적용된게 보입니다.
만약 powerlevel10k 환경 설정을 변경하고 싶다면 터미널에서 p10k configure 명령어를 실행하면 됩니다.
brew설치 & gistory 설치
cd ~
code ~/.zshrc
두번째 라인 주석 해제
# If you come from bash you might have to change your $PATH.
export PATH=$HOME/bin:/usr/local/bin:$PATH
저장하고 적용.
source ~/.zshrc
/bin/bash -c “$(curl -fsSL https://raw.githubusercontent.com/Homebrew/install/master/install.sh)”
echo ‘eval $(/home/linuxbrew/.linuxbrew/bin/brew shellenv)’ » ~/.zprofile eval $(/home/linuxbrew/.linuxbrew/bin/brew shellenv)
brew install python3
pip3 install gistory
cd git홈/.git/
gistory
Bottle v0.13-dev server starting up (using WSGIRefServer())… Listening on http://0.0.0.0:8805/ Hit Ctrl-C to quit.
브라우저 열고 http://localhost:8805/ 접속
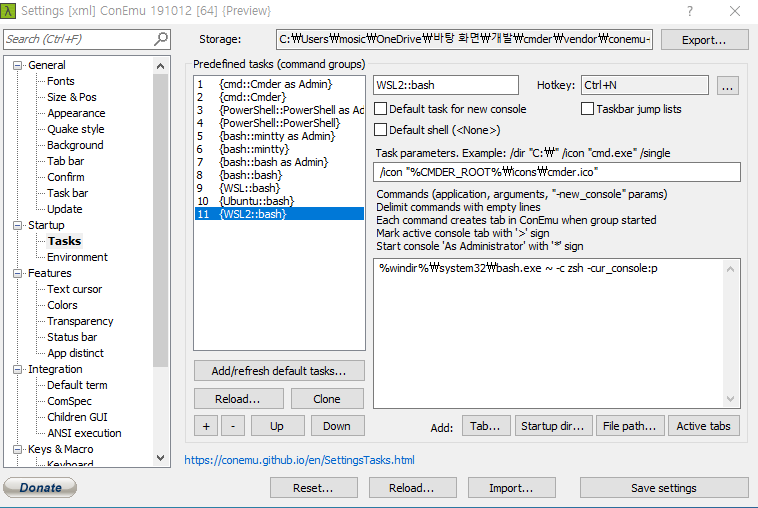
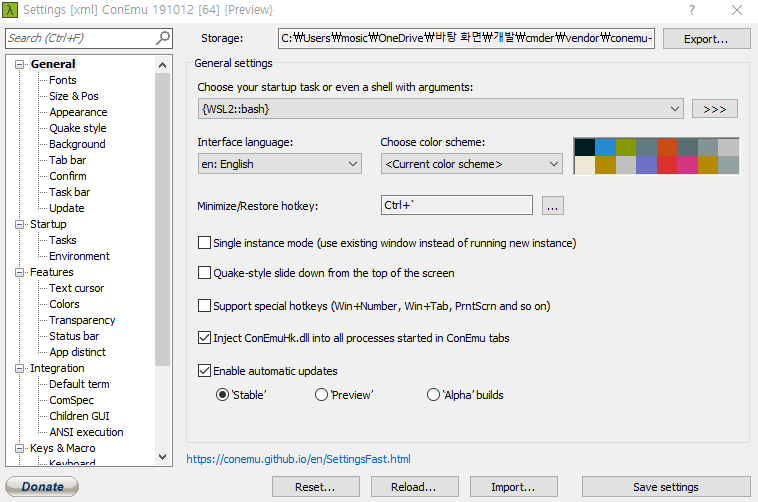
6. wsl cmder 연동
Cmder 하단에서 +버튼 옆에 클릭 > Setup tasks 클릭.
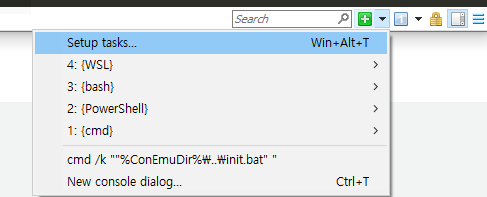
+버튼을 누르고 순서대로 입력 후 save settings 클릭.
WSL2::bash
/icon “%CMDER_ROOT%\icons\cmder.ico”
%windir%\system32\bash.exe ~ -c zsh -cur_console:p5
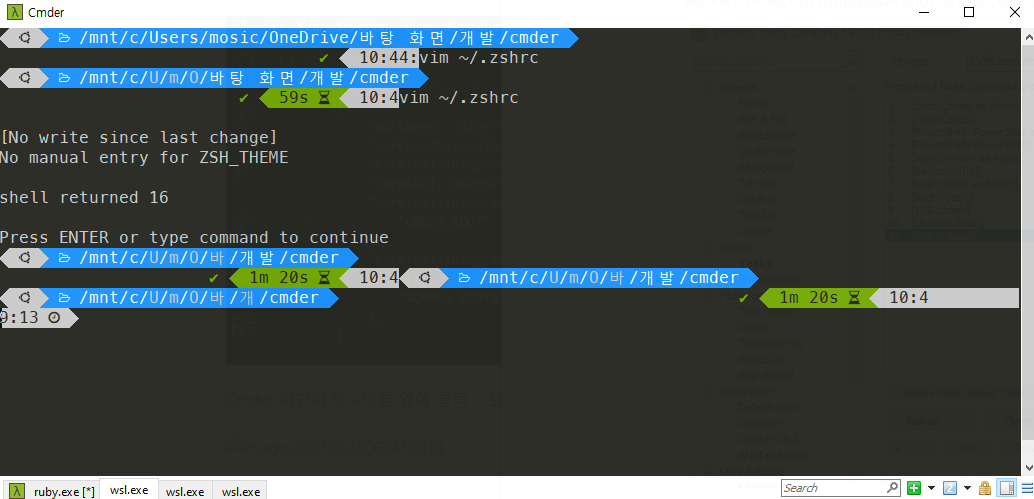
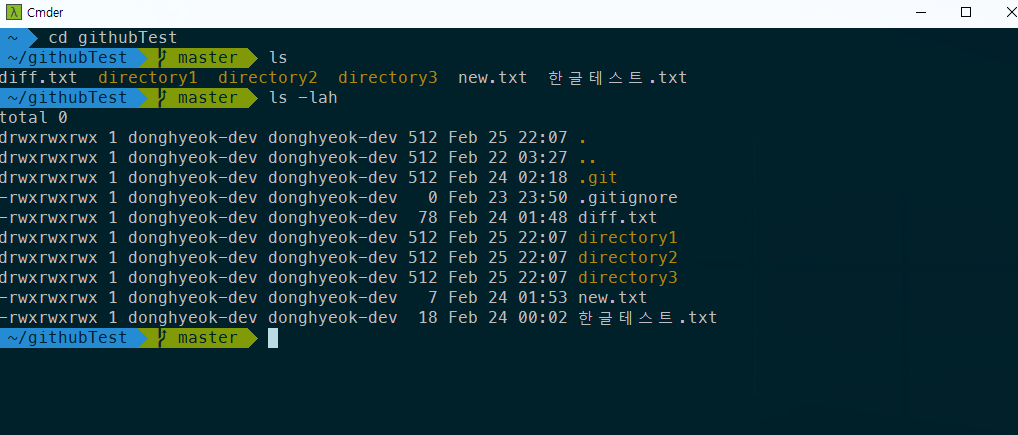
설정한 powerlevel10k 테마가 windows terminal에서는 잘보이는데 cdmer에서는 깨져보입니다.
그래서 agnoster 테마로 교체했습니다.
zsh 설정 편집하기
vim ~/.zshrc
# If you come from bash you might have to change your $PATH.
# export PATH=$HOME/bin:/usr/local/bin:$PATH

DEFAULT_USER="$(whoami)"

# Path to your oh-my-zsh installation.
export ZSH="/home/donghyeok-dev/.oh-my-zsh"

export LS_COLORS="$LS_COLORS:ow=1;34:tw=1;34:"
# Set name of the theme to load --- if set to "random", it will
# load a random theme each time oh-my-zsh is loaded, in which case,
# to know which specific one was loaded, run: echo $RANDOM_THEME
# See https://github.com/ohmyzsh/ohmyzsh/wiki/Themes
ZSH_THEME="agnoster"
#ZSH_THEME="powerlevel10k/powerlevel10k"

#...

# Which plugins would you like to load?
# Standard plugins can be found in $ZSH/plugins/
# Custom plugins may be added to $ZSH_CUSTOM/plugins/
# Example format: plugins=(rails git textmate ruby lighthouse)
# Add wisely, as too many plugins slow down shell startup.
plugins=(git)

source $ZSH/oh-my-zsh.sh

# ...

# Set personal aliases, overriding those provided by oh-my-zsh libs,
# plugins, and themes. Aliases can be placed here, though oh-my-zsh
# users are encouraged to define aliases within the ZSH_CUSTOM folder.
# For a full list of active aliases, run `alias`.
#
# Example aliases
# alias zshconfig="mate ~/.zshrc"
# alias ohmyzsh="mate ~/.oh-my-zsh"

# To customize prompt, run `p10k configure` or edit ~/.p10k.zsh.
#[[ ! -f ~/.p10k.zsh ]] || source ~/.p10k.zsh
설정 정보 및 최종 터미널 모습입니다.
기타 참고사항 입니다.
visual studio code에 설정한 터미널을 cmder로 변경 방법
(저는 위 방법으로 VSCode에 cmder 터미널을 적용해본 결과 기본 cmder 형태로 보여서 원복 했습니다.)
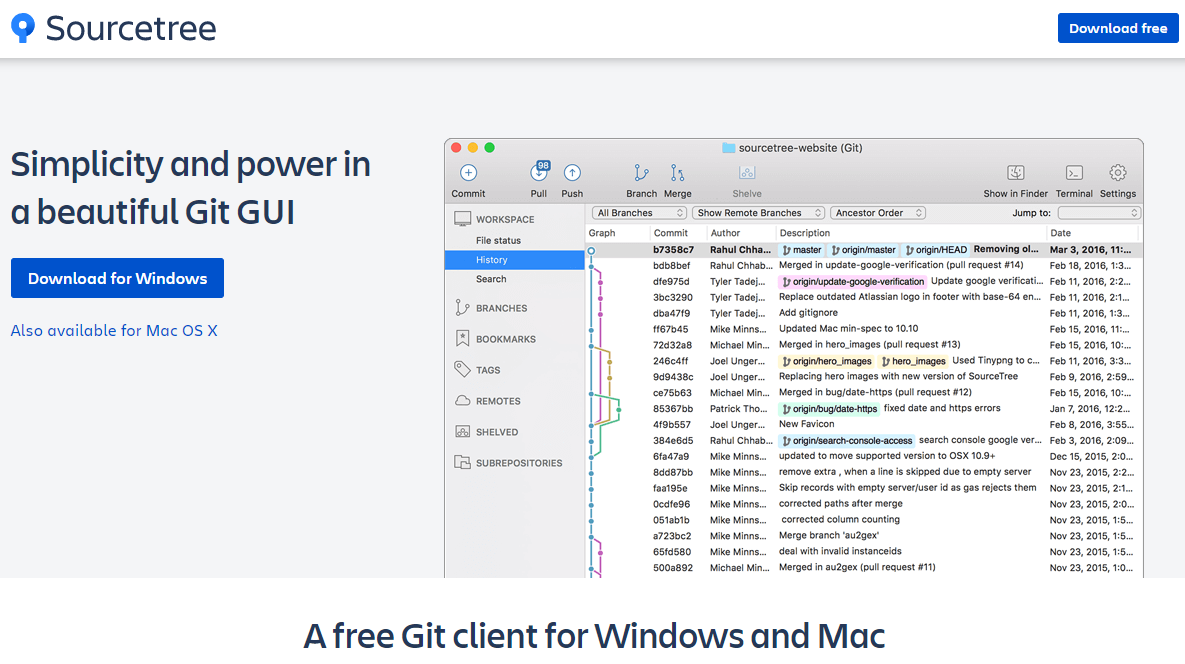
7. Sourcetree 설치
https://www.sourcetreeapp.com/
-
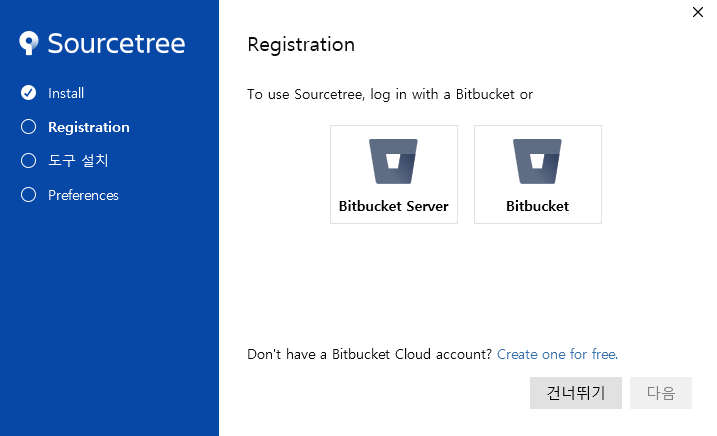
용도에 따라 다르겠지만, Bitbucket을 선택.
-
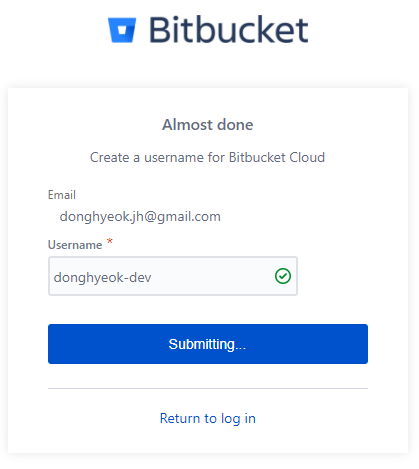
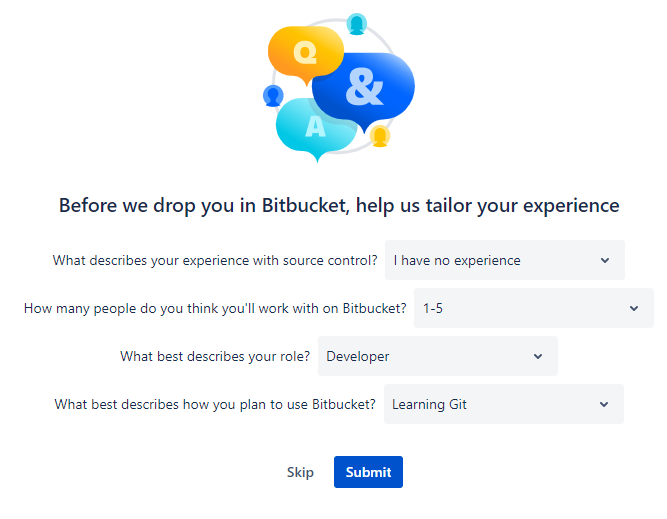
기존 Bitbucket 사용자가 아니라면 회원가입.

-
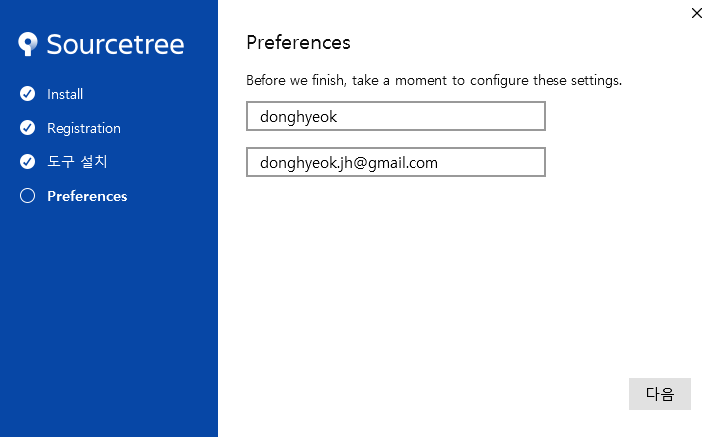
다음을 누르면 설치 옵션을 선택하는 화면이 나오는데 고급옵션에서 CRLF 설정.
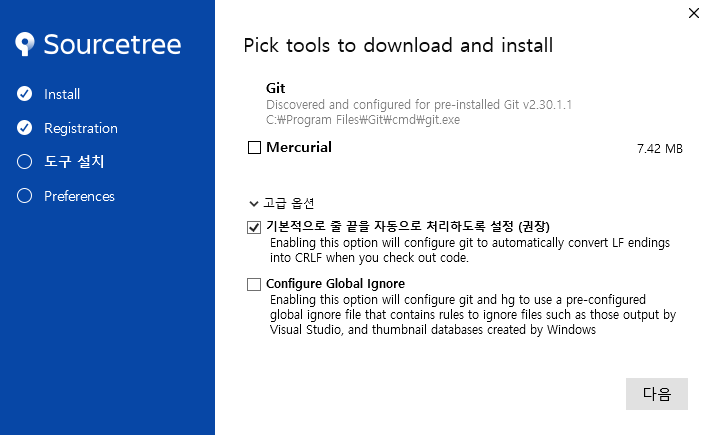
-
마무리 단계를 완료하면 설치가 완료.
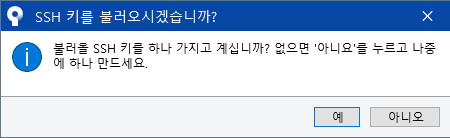
아니요 선택.
-
Sourcetree 메인 상단 메뉴에서 Local을 클릭하면 Local Repository를 볼 수 있습니다.
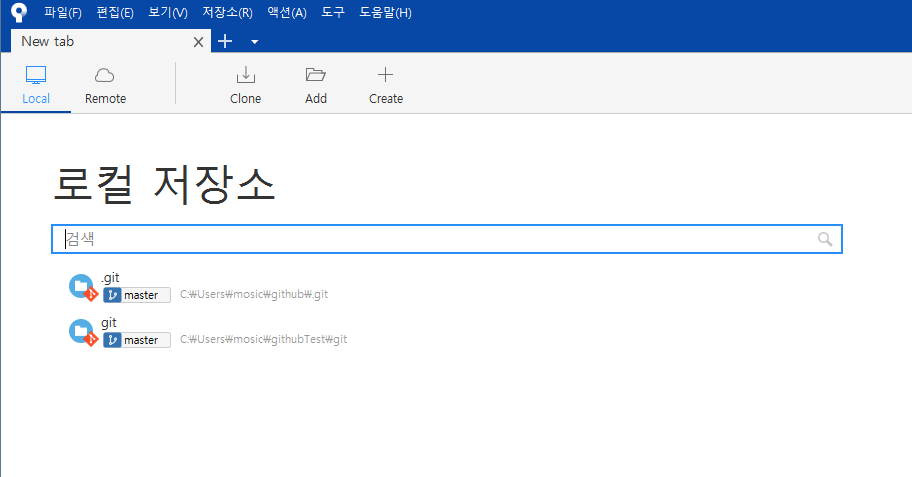
-
Sourcetree 테스트
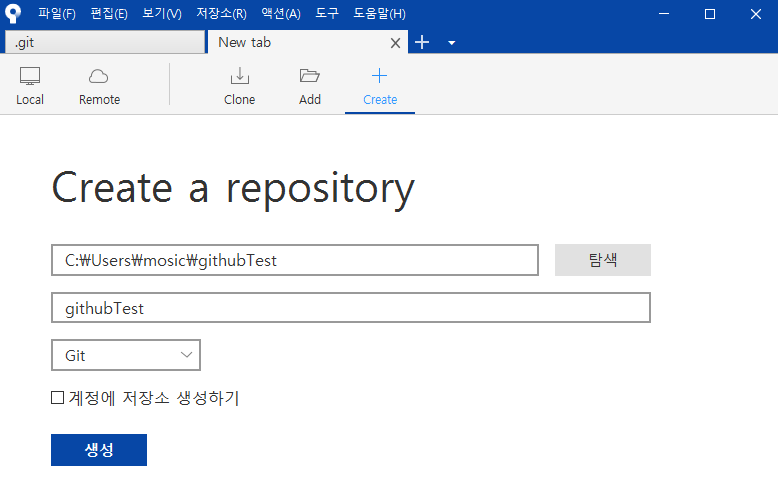
테스트용 git repository 하나를 생성.
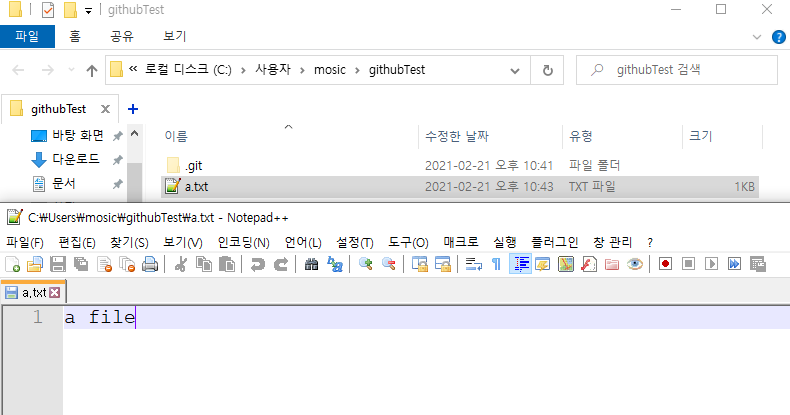
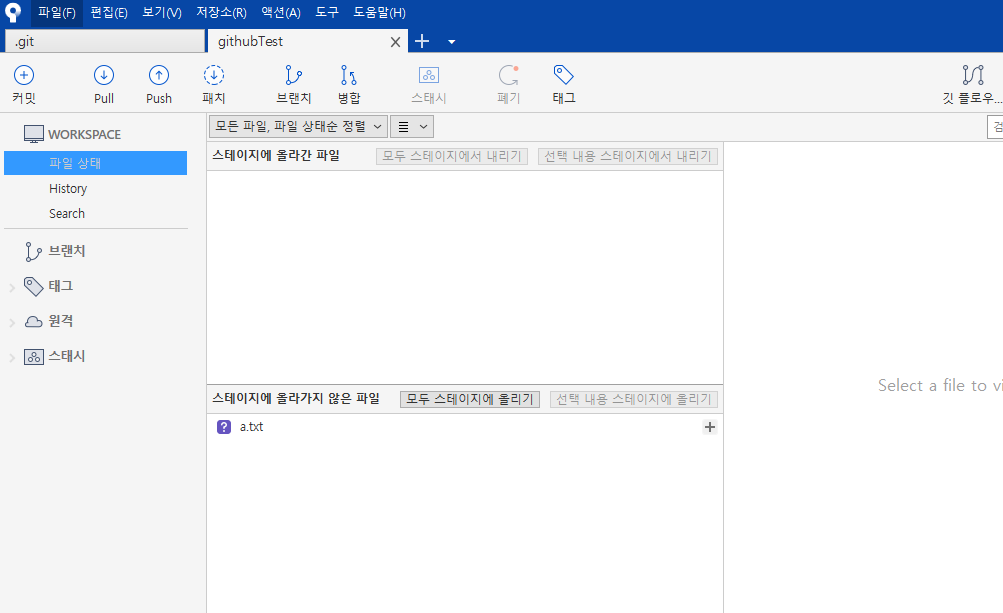
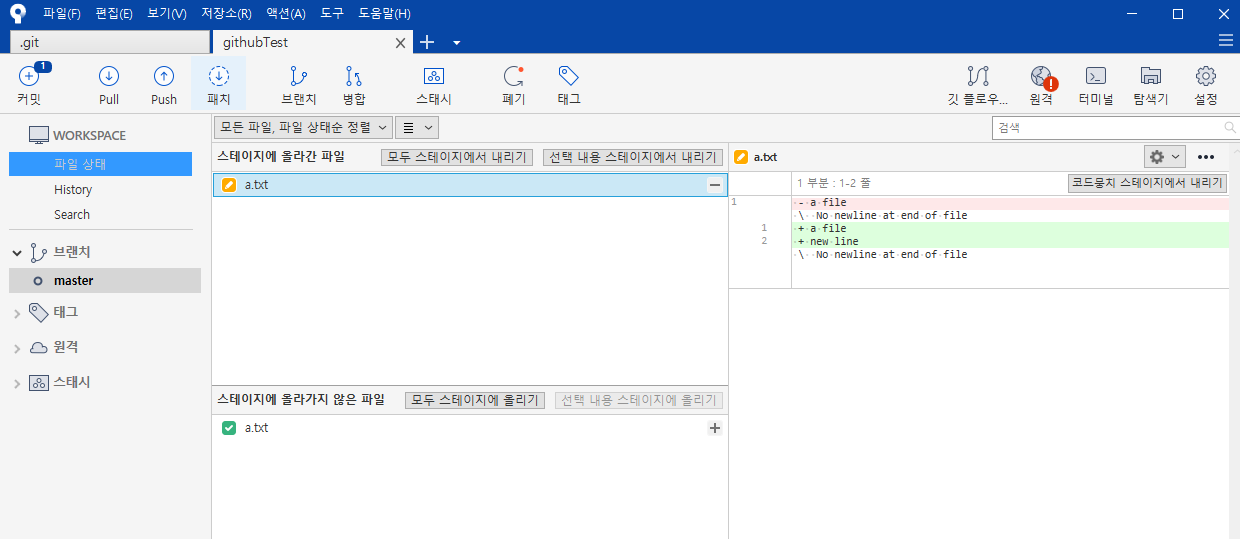
파일 탐색기 또는 터미널에서 테스트용 git repository에 a.txt파일를 생성하면 working directory에 a.txt가 보입니다.
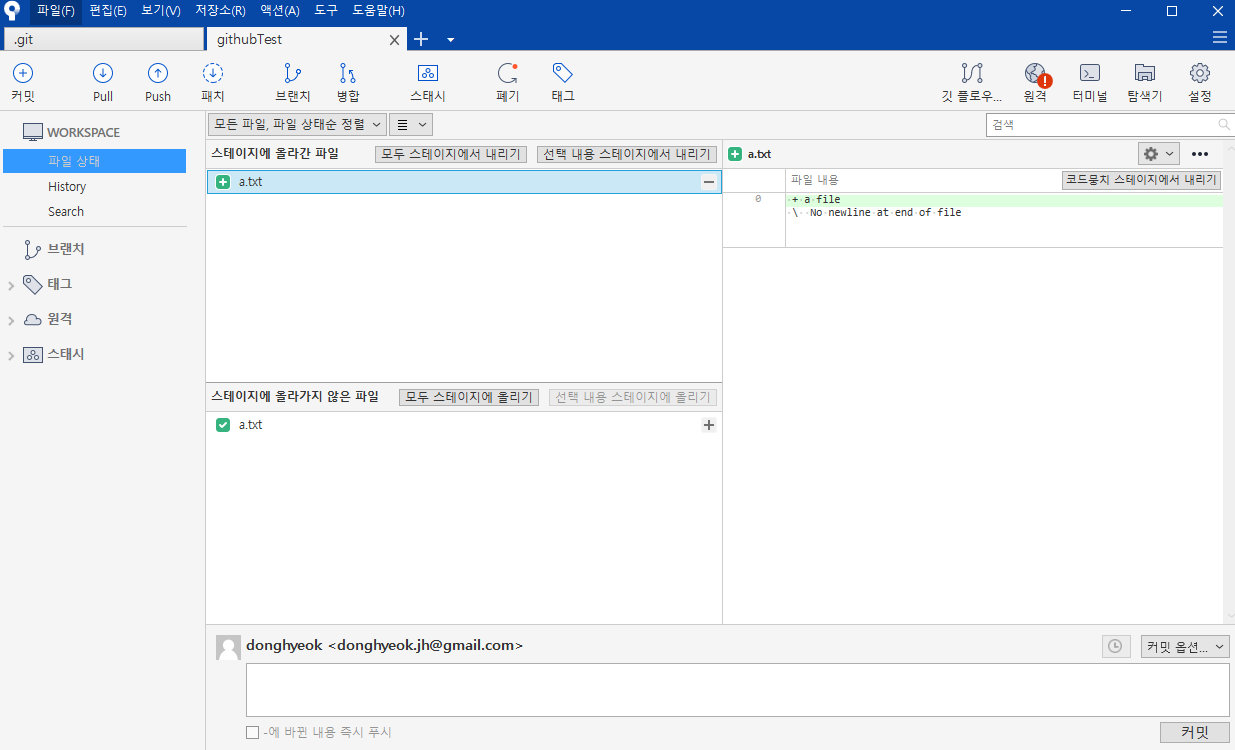
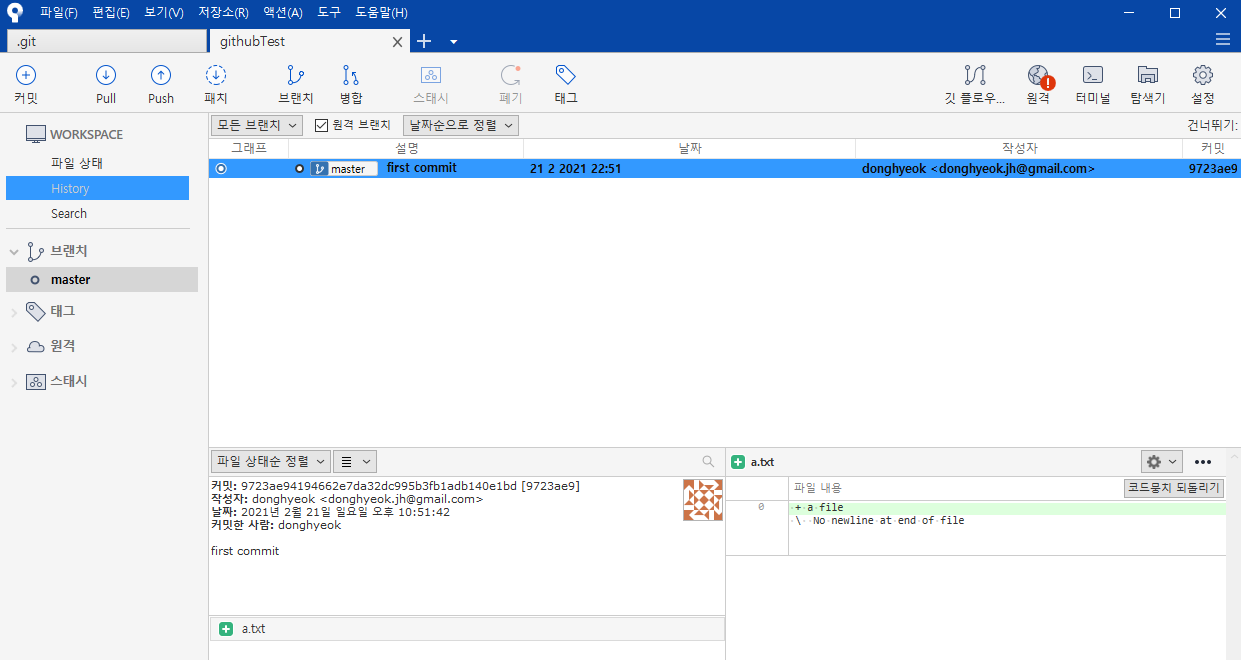
a.txt파일 옆에 + 버튼을 누르면 Staging Area로 파일이 이동.
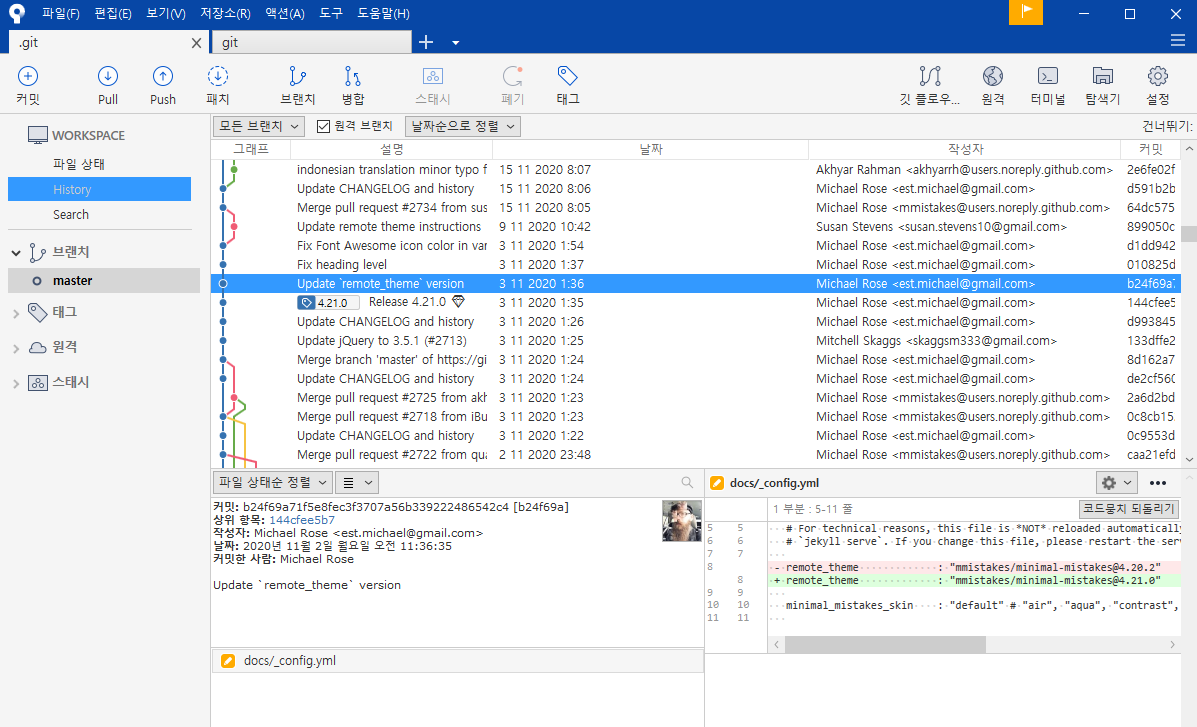
맨 아래 textarea 부분에 “first commit”라고 comment하고 commit을 하면 브랜치 master가 생성되면서 history에 기록이 보입니다.
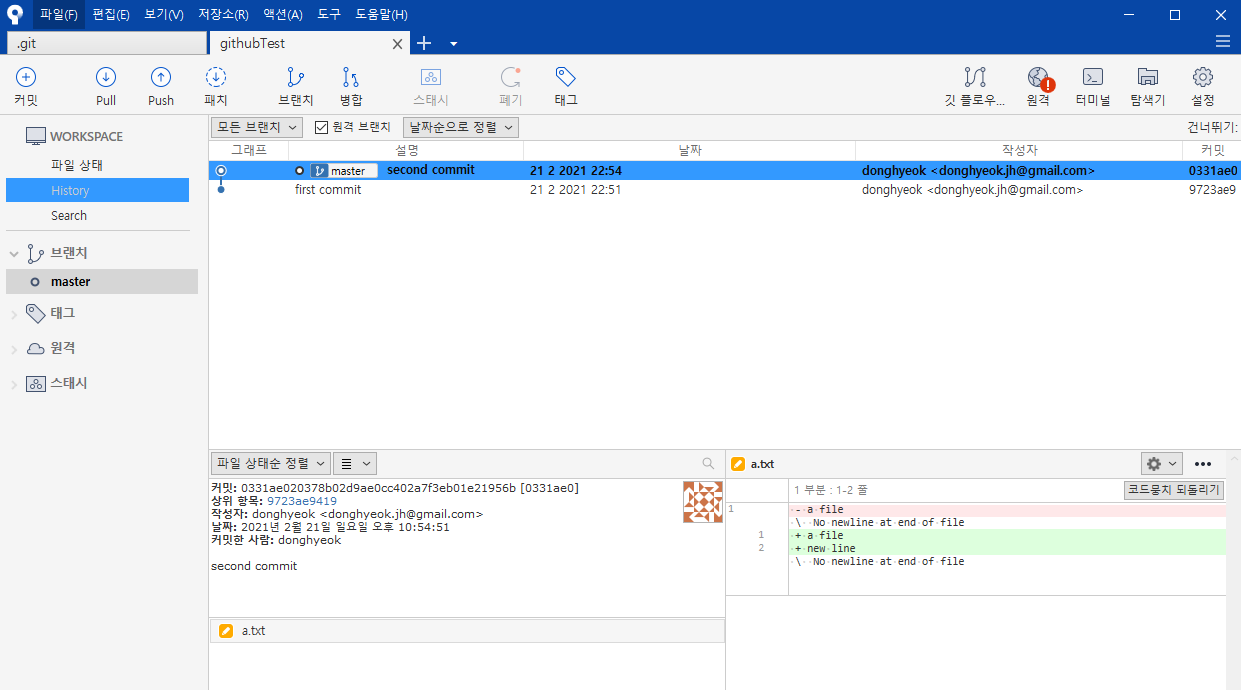
파일을 수정하고 Staging Area로 이동시킨다음 “second commit”을하면 아래 처럼 log가 보입니다.
댓글남기기